The Saga Continues
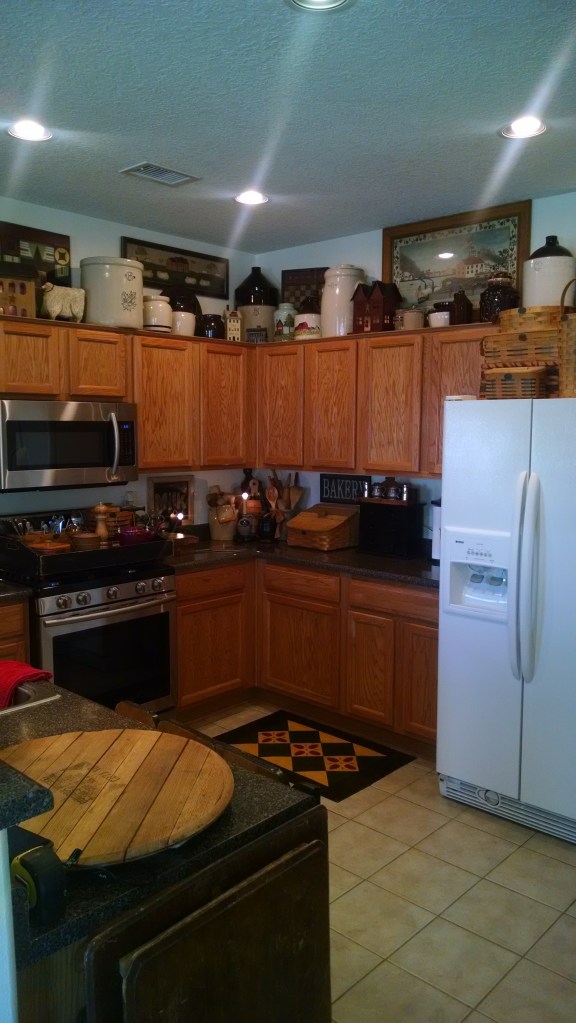
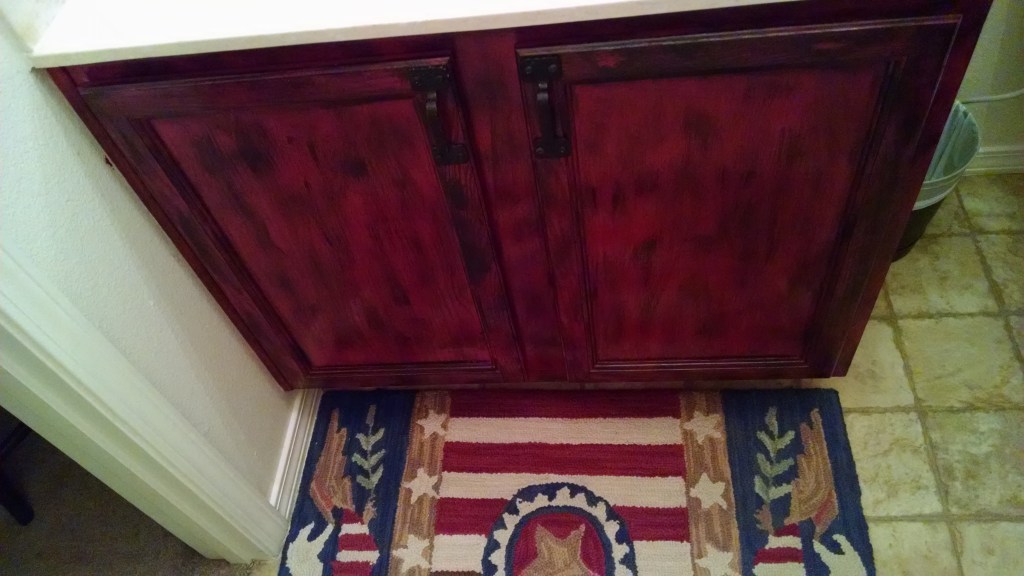
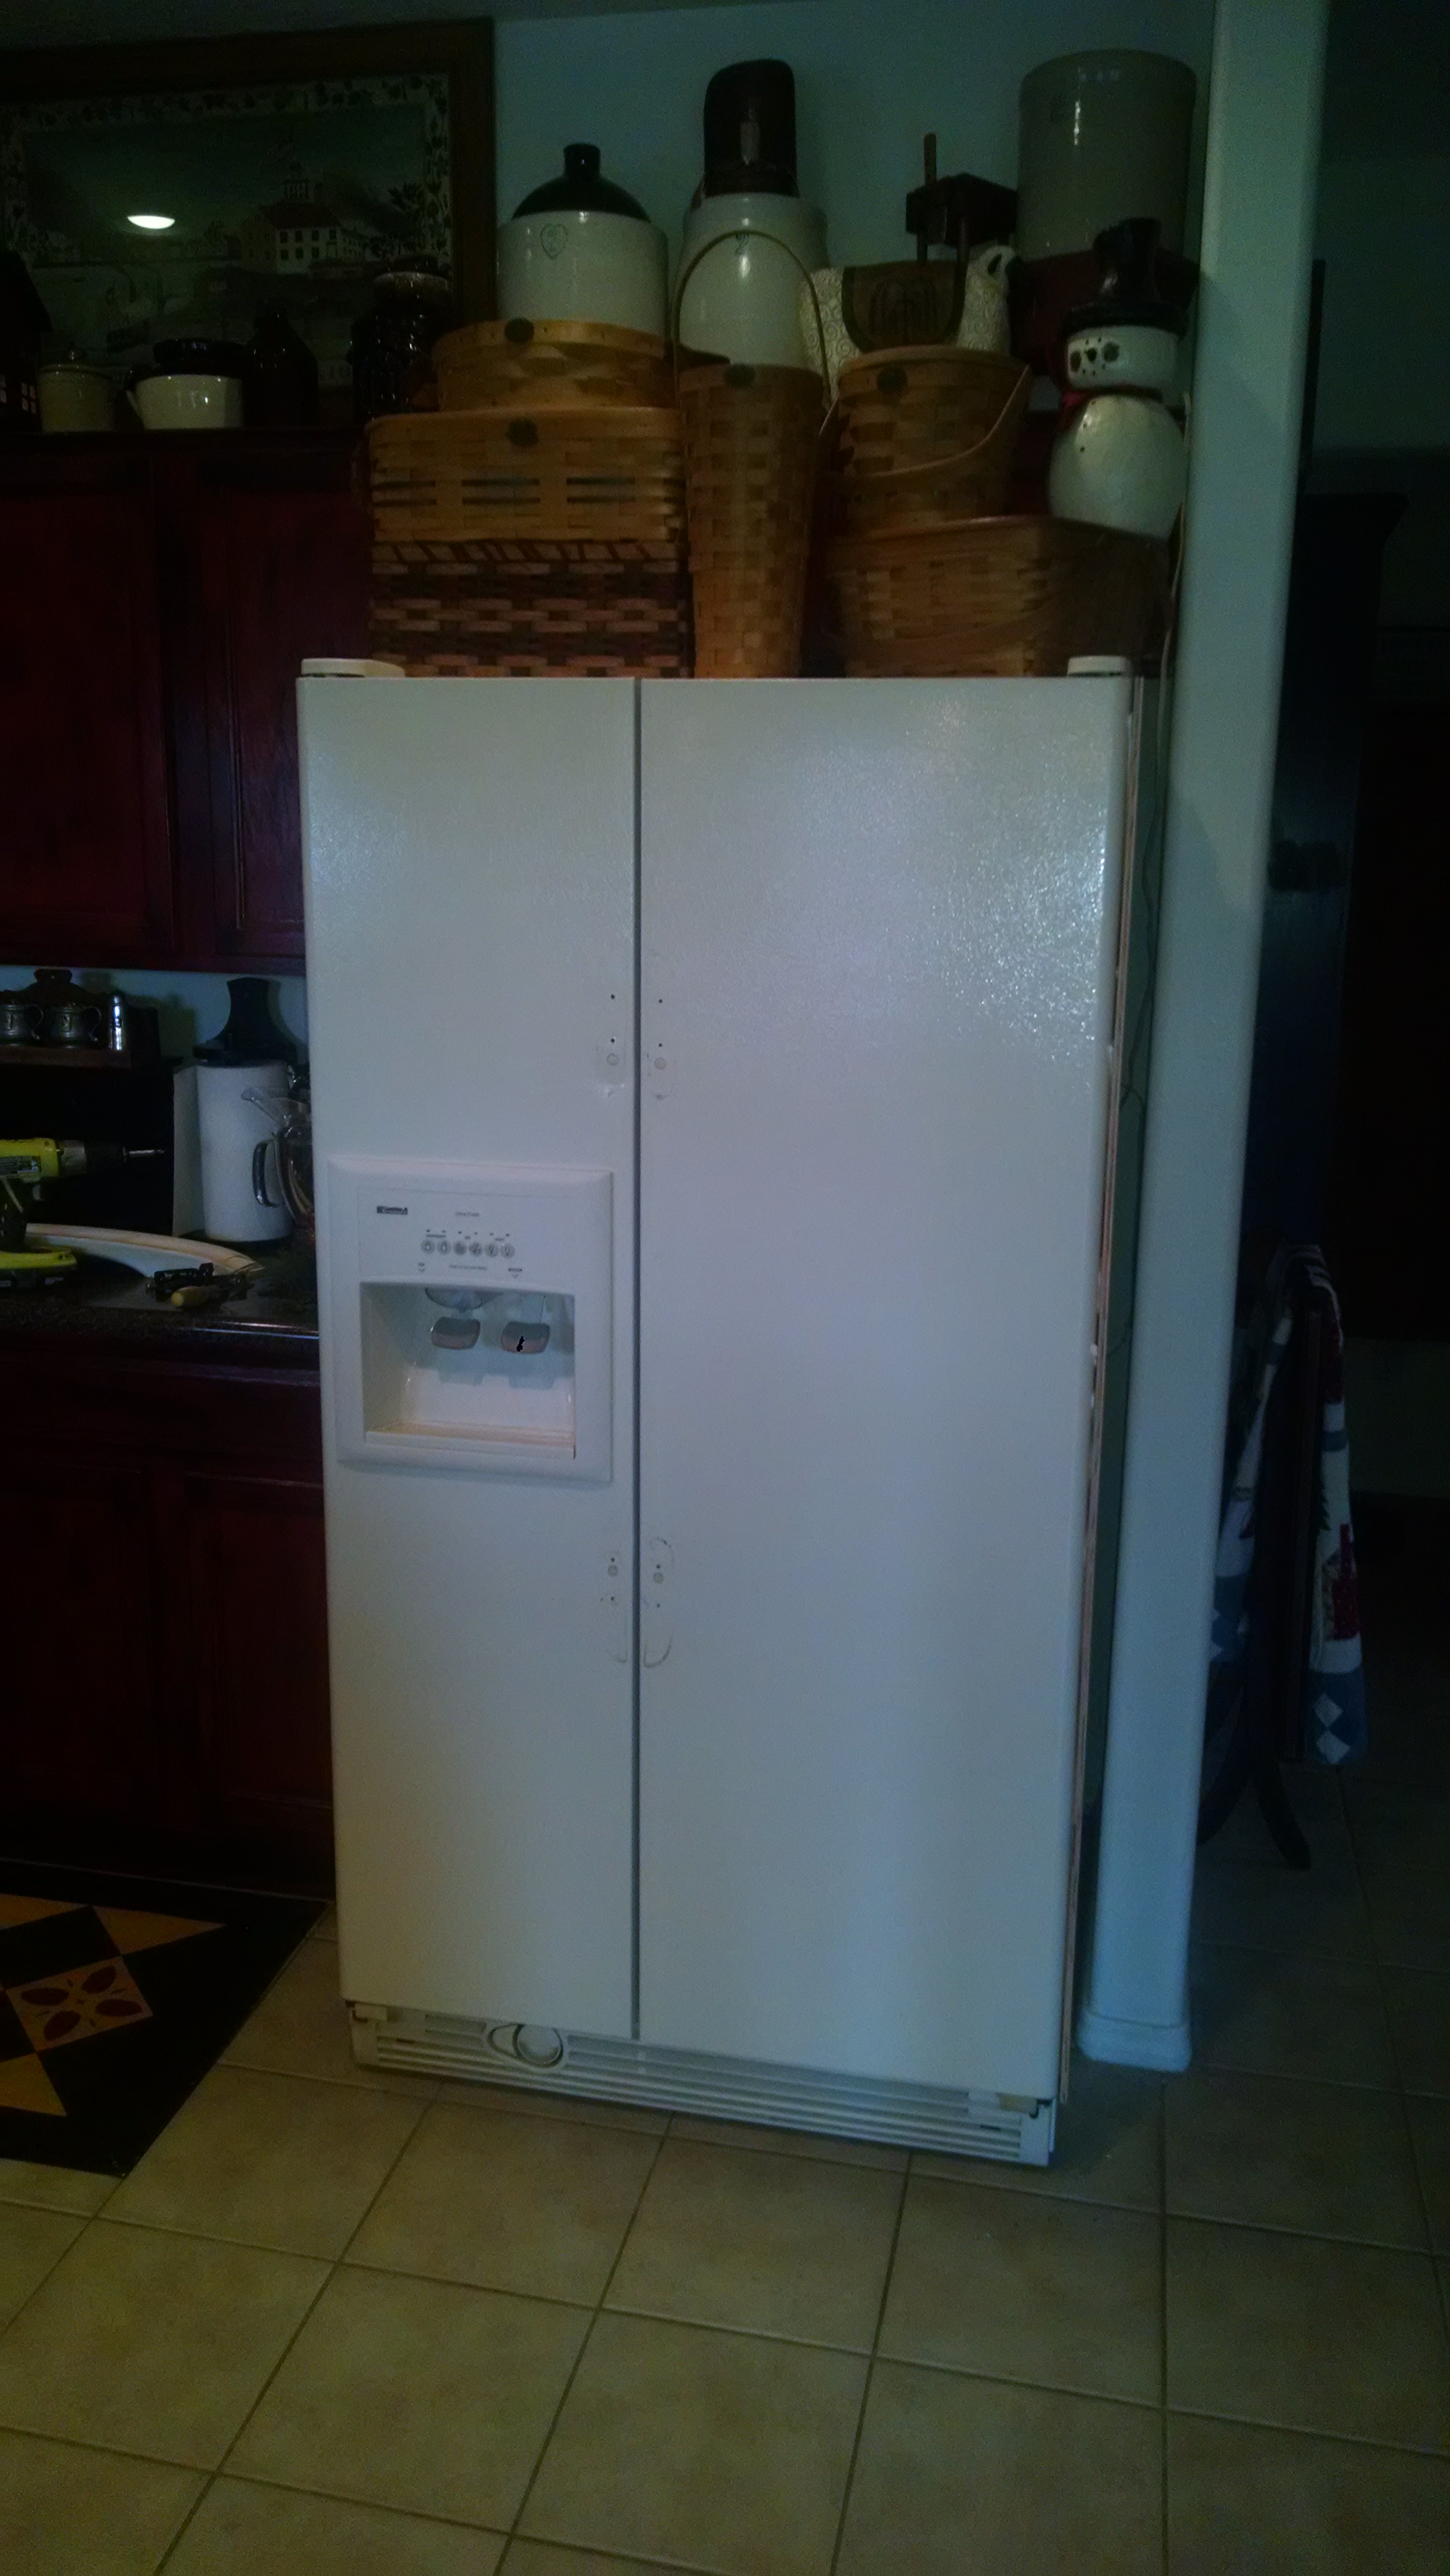
So this is where we are after the last post and at this point we were in the house a few weeks. We did have a challenge at this point as you can see the refrigerator looks out of place. I told my hubby that I saw somewhere that you could cover the outside with wood then we could paint it. I also found in County Sampler Magazine where you could paint wood a dark red and dry brush it with black and it will look like mahogany wood. Soooo I decided to give that a try on a bathroom cabinet before doing the kitchen cabinets. You will notice a theme with us. We bounce from one project to another pretty fluidly. The good thing about this was I hated the cabinet in the bathroom. That being the case if it did not work out new cabinet Yea.
Now that the bathroom cabinet was a success time to tackle the kitchen cabinets. This style of painting is a bit of a process which actually means its not over in one day. Depending on how the red paint covers its a three or four day process. Yep weekends full of your kitchen being a disaster area. The first thing to get the cabinets to a red tone that you like. The paint has to cover and dry all the way. We used a satin finish Behr paint with primer from Home Depot. I put two coats on all the cabinets one per day that was the first weekend. The next weekend I used Old Century Colors Lamp Black paint for the dry brush. One day for that to dry then a rub on satin finish polyurethane. The I was finally able to put my kitchen back together for the third time.

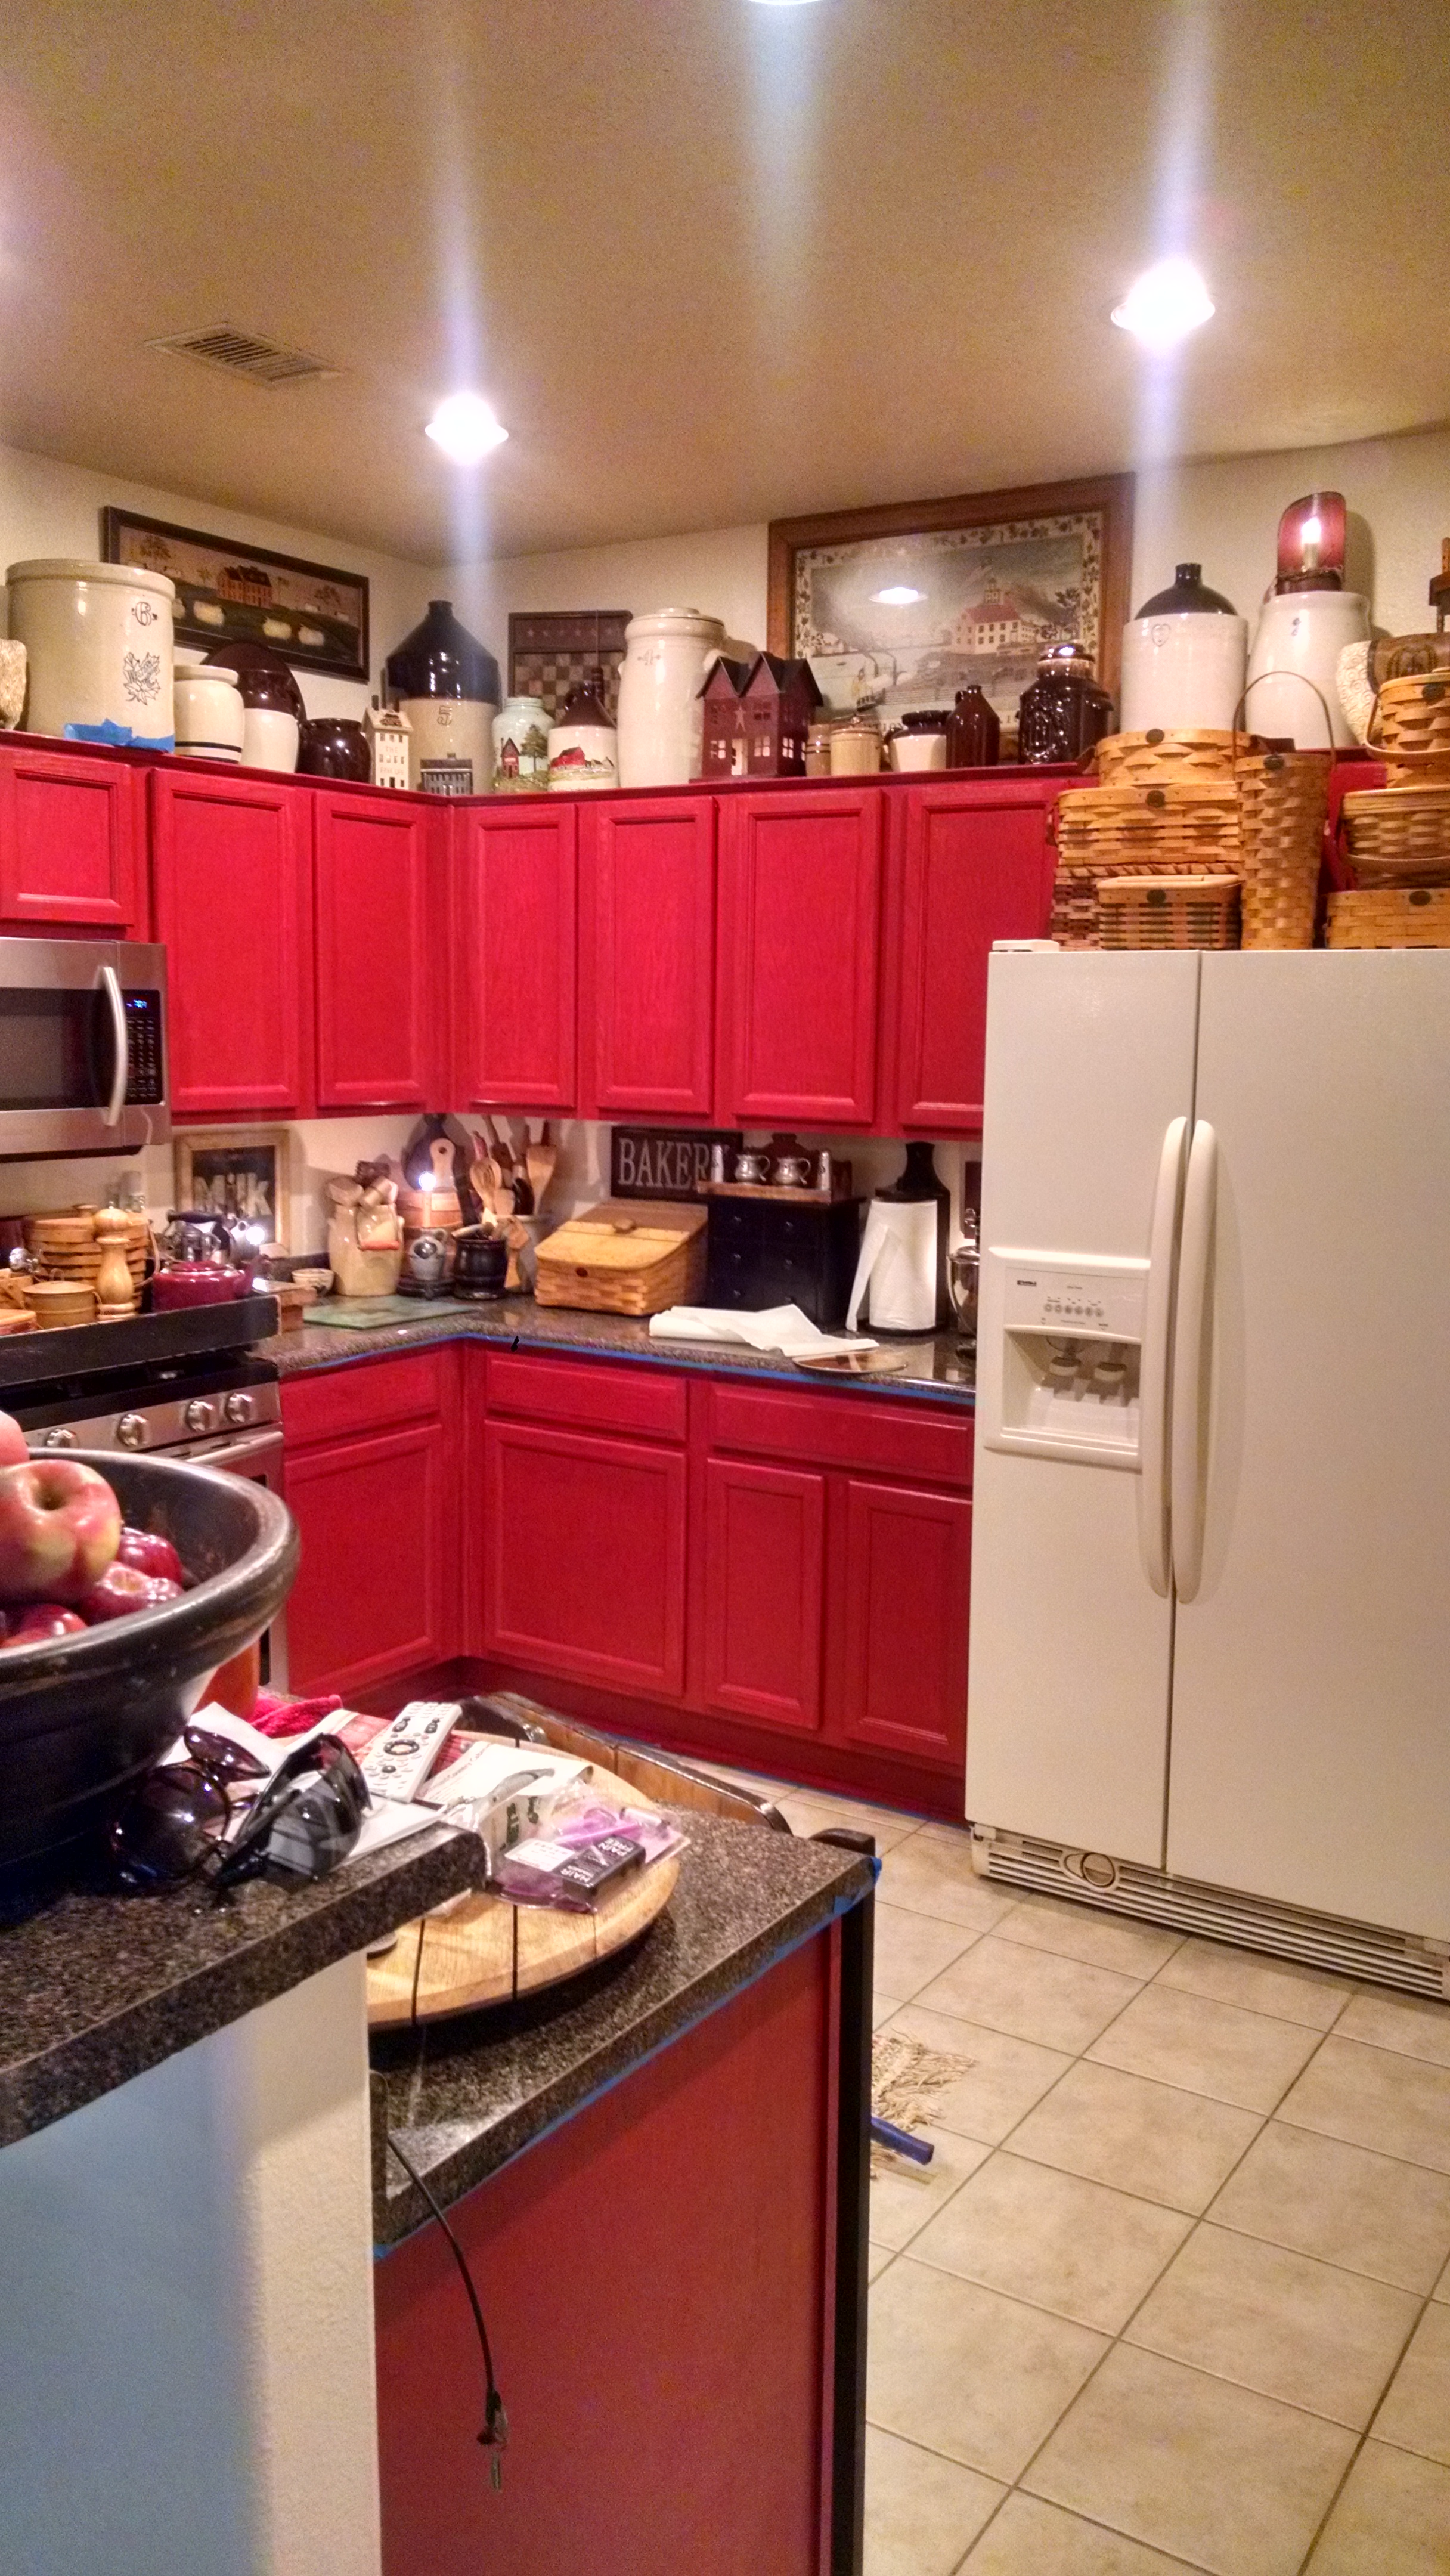
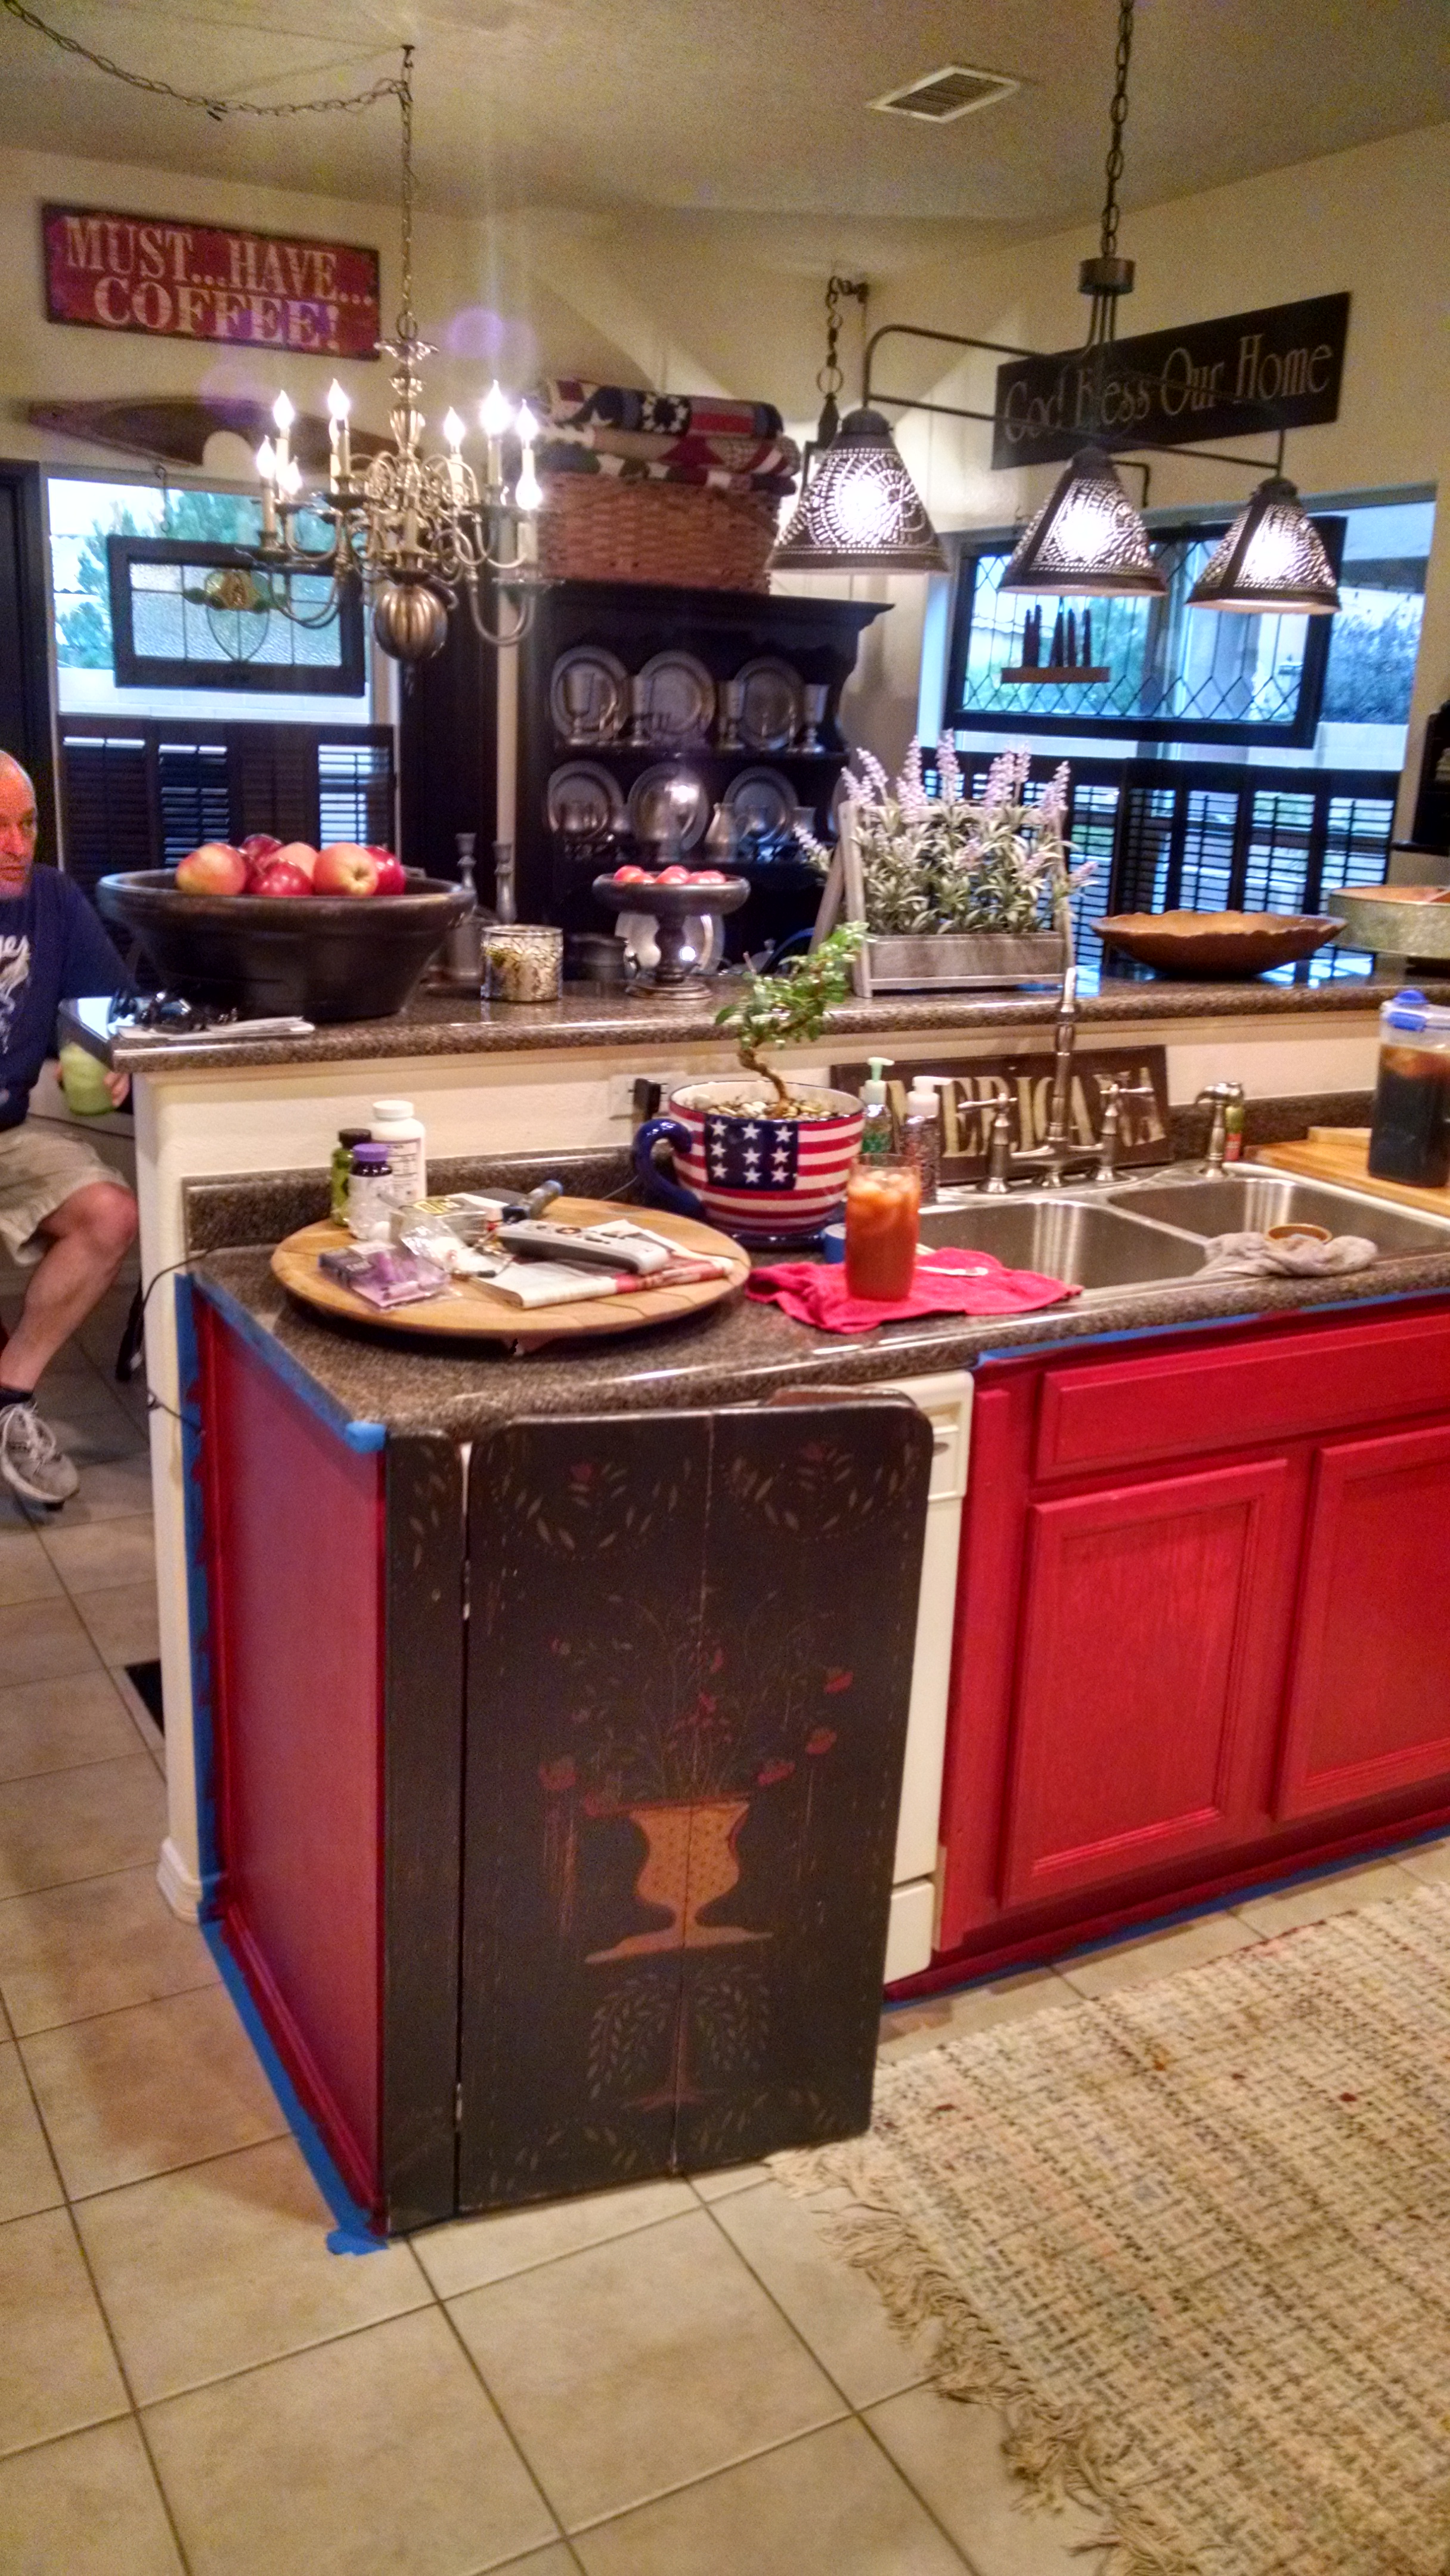
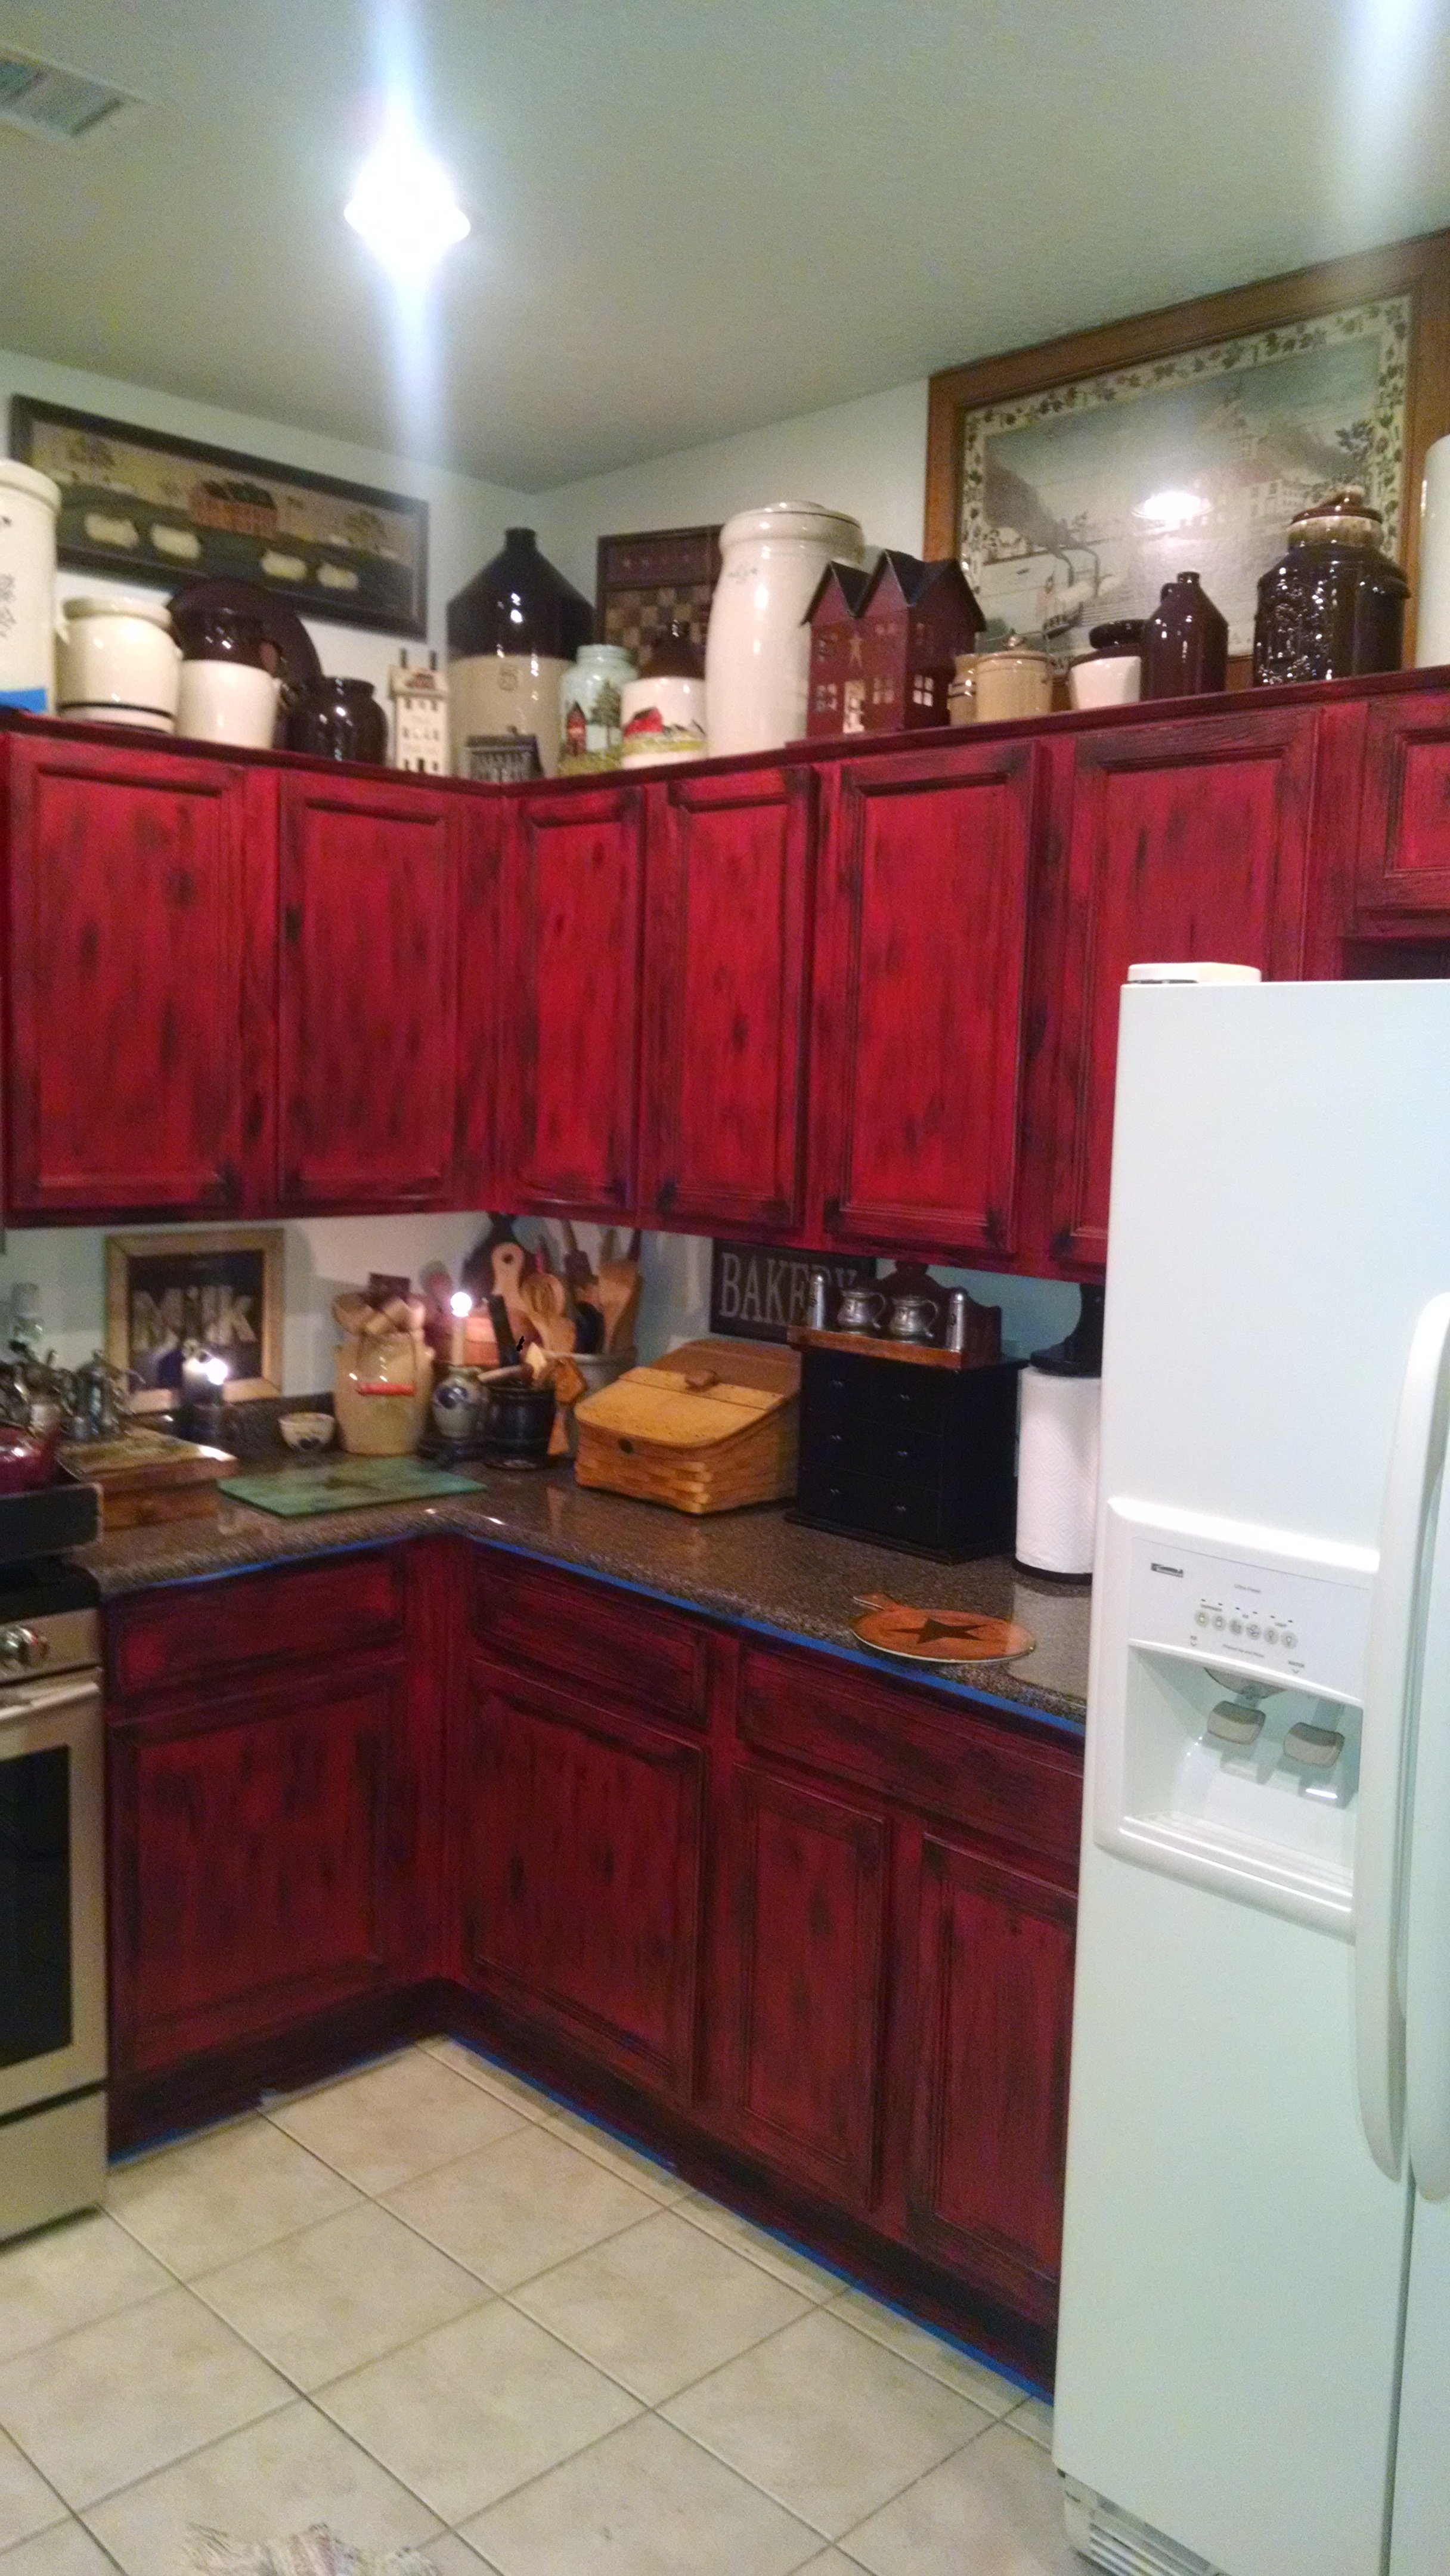

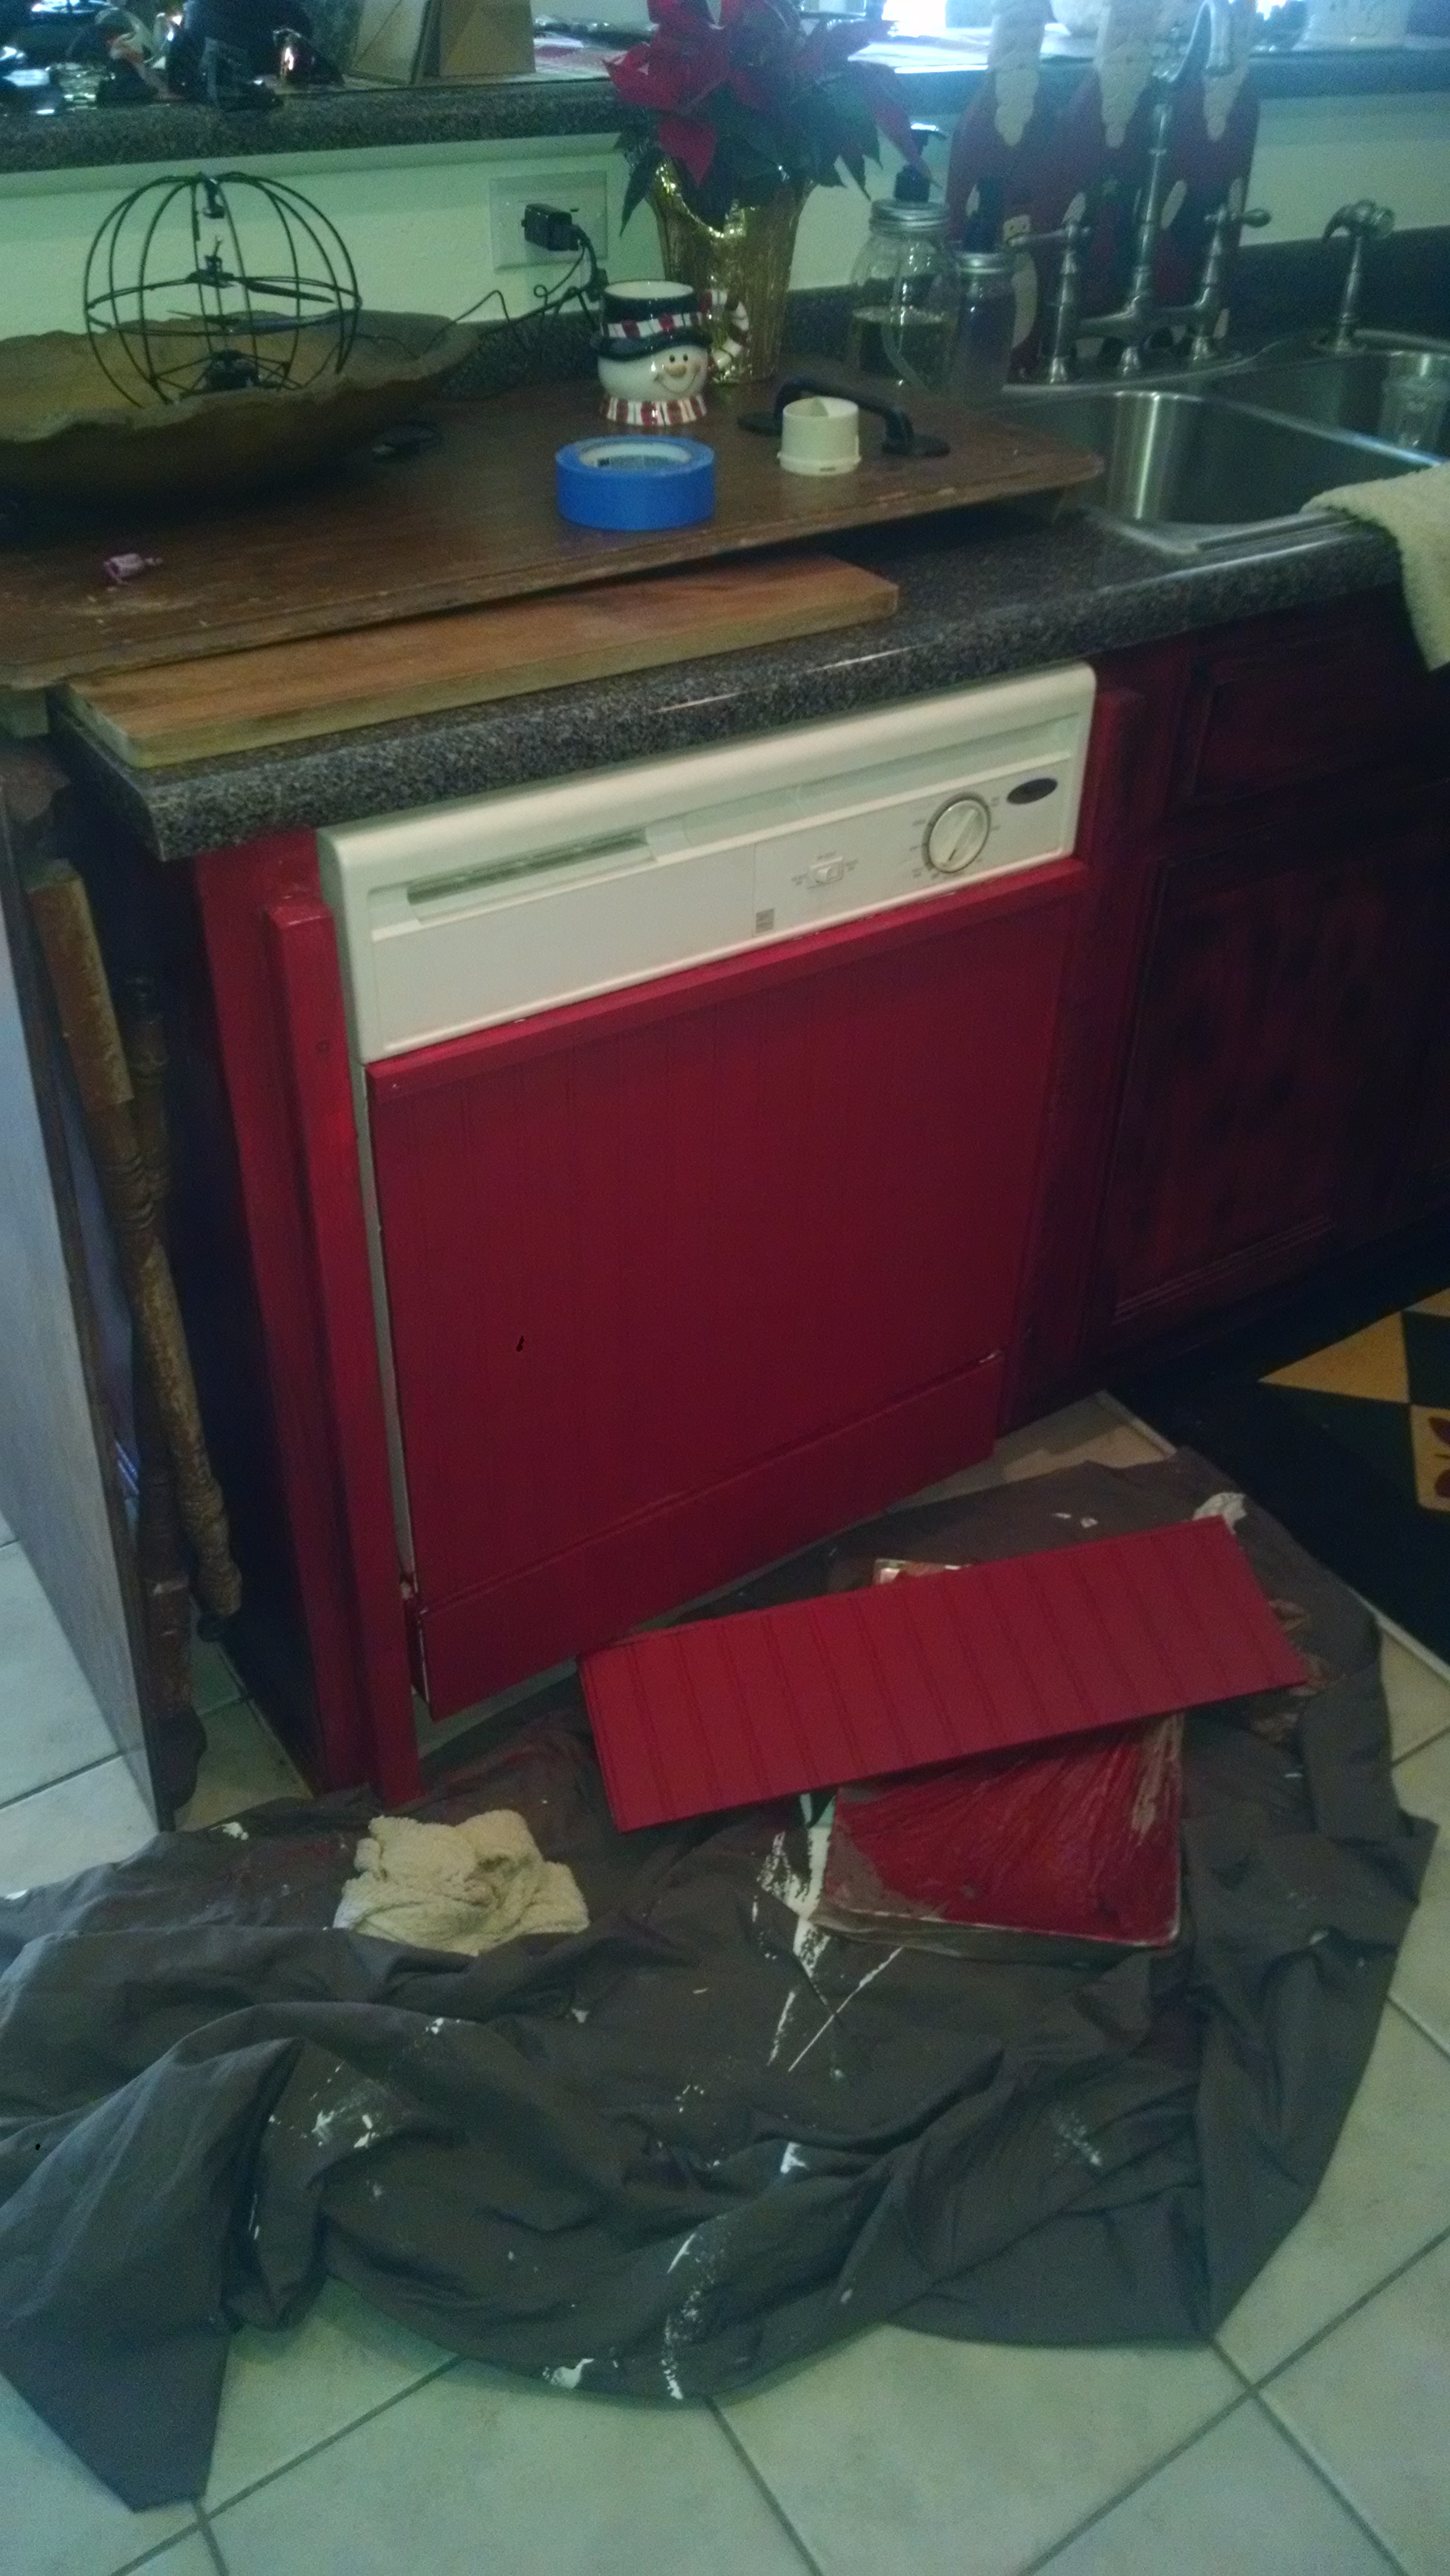
Notice in the third picture that the dishwasher was still an eyesore. I had my hubby modify an antique wood fireplace screen into a cover for that as well. The kitchen was starting to take shape but still had to take care of the fridge.
So I saw somewhere that you could air nail wood to the outside of the fridge then we could paint it to match. Fortunately for me my husband will do whatever I ask him to. I know that secretly he hates it he never says a word LOL. We decided to go with a bead board outside attached with some air nails and liquid nails. When it comes to this I let my husband loose to make it work. The sides and the front of the door without house the ice dispenser were pretty straight forward cut the wood and attach.
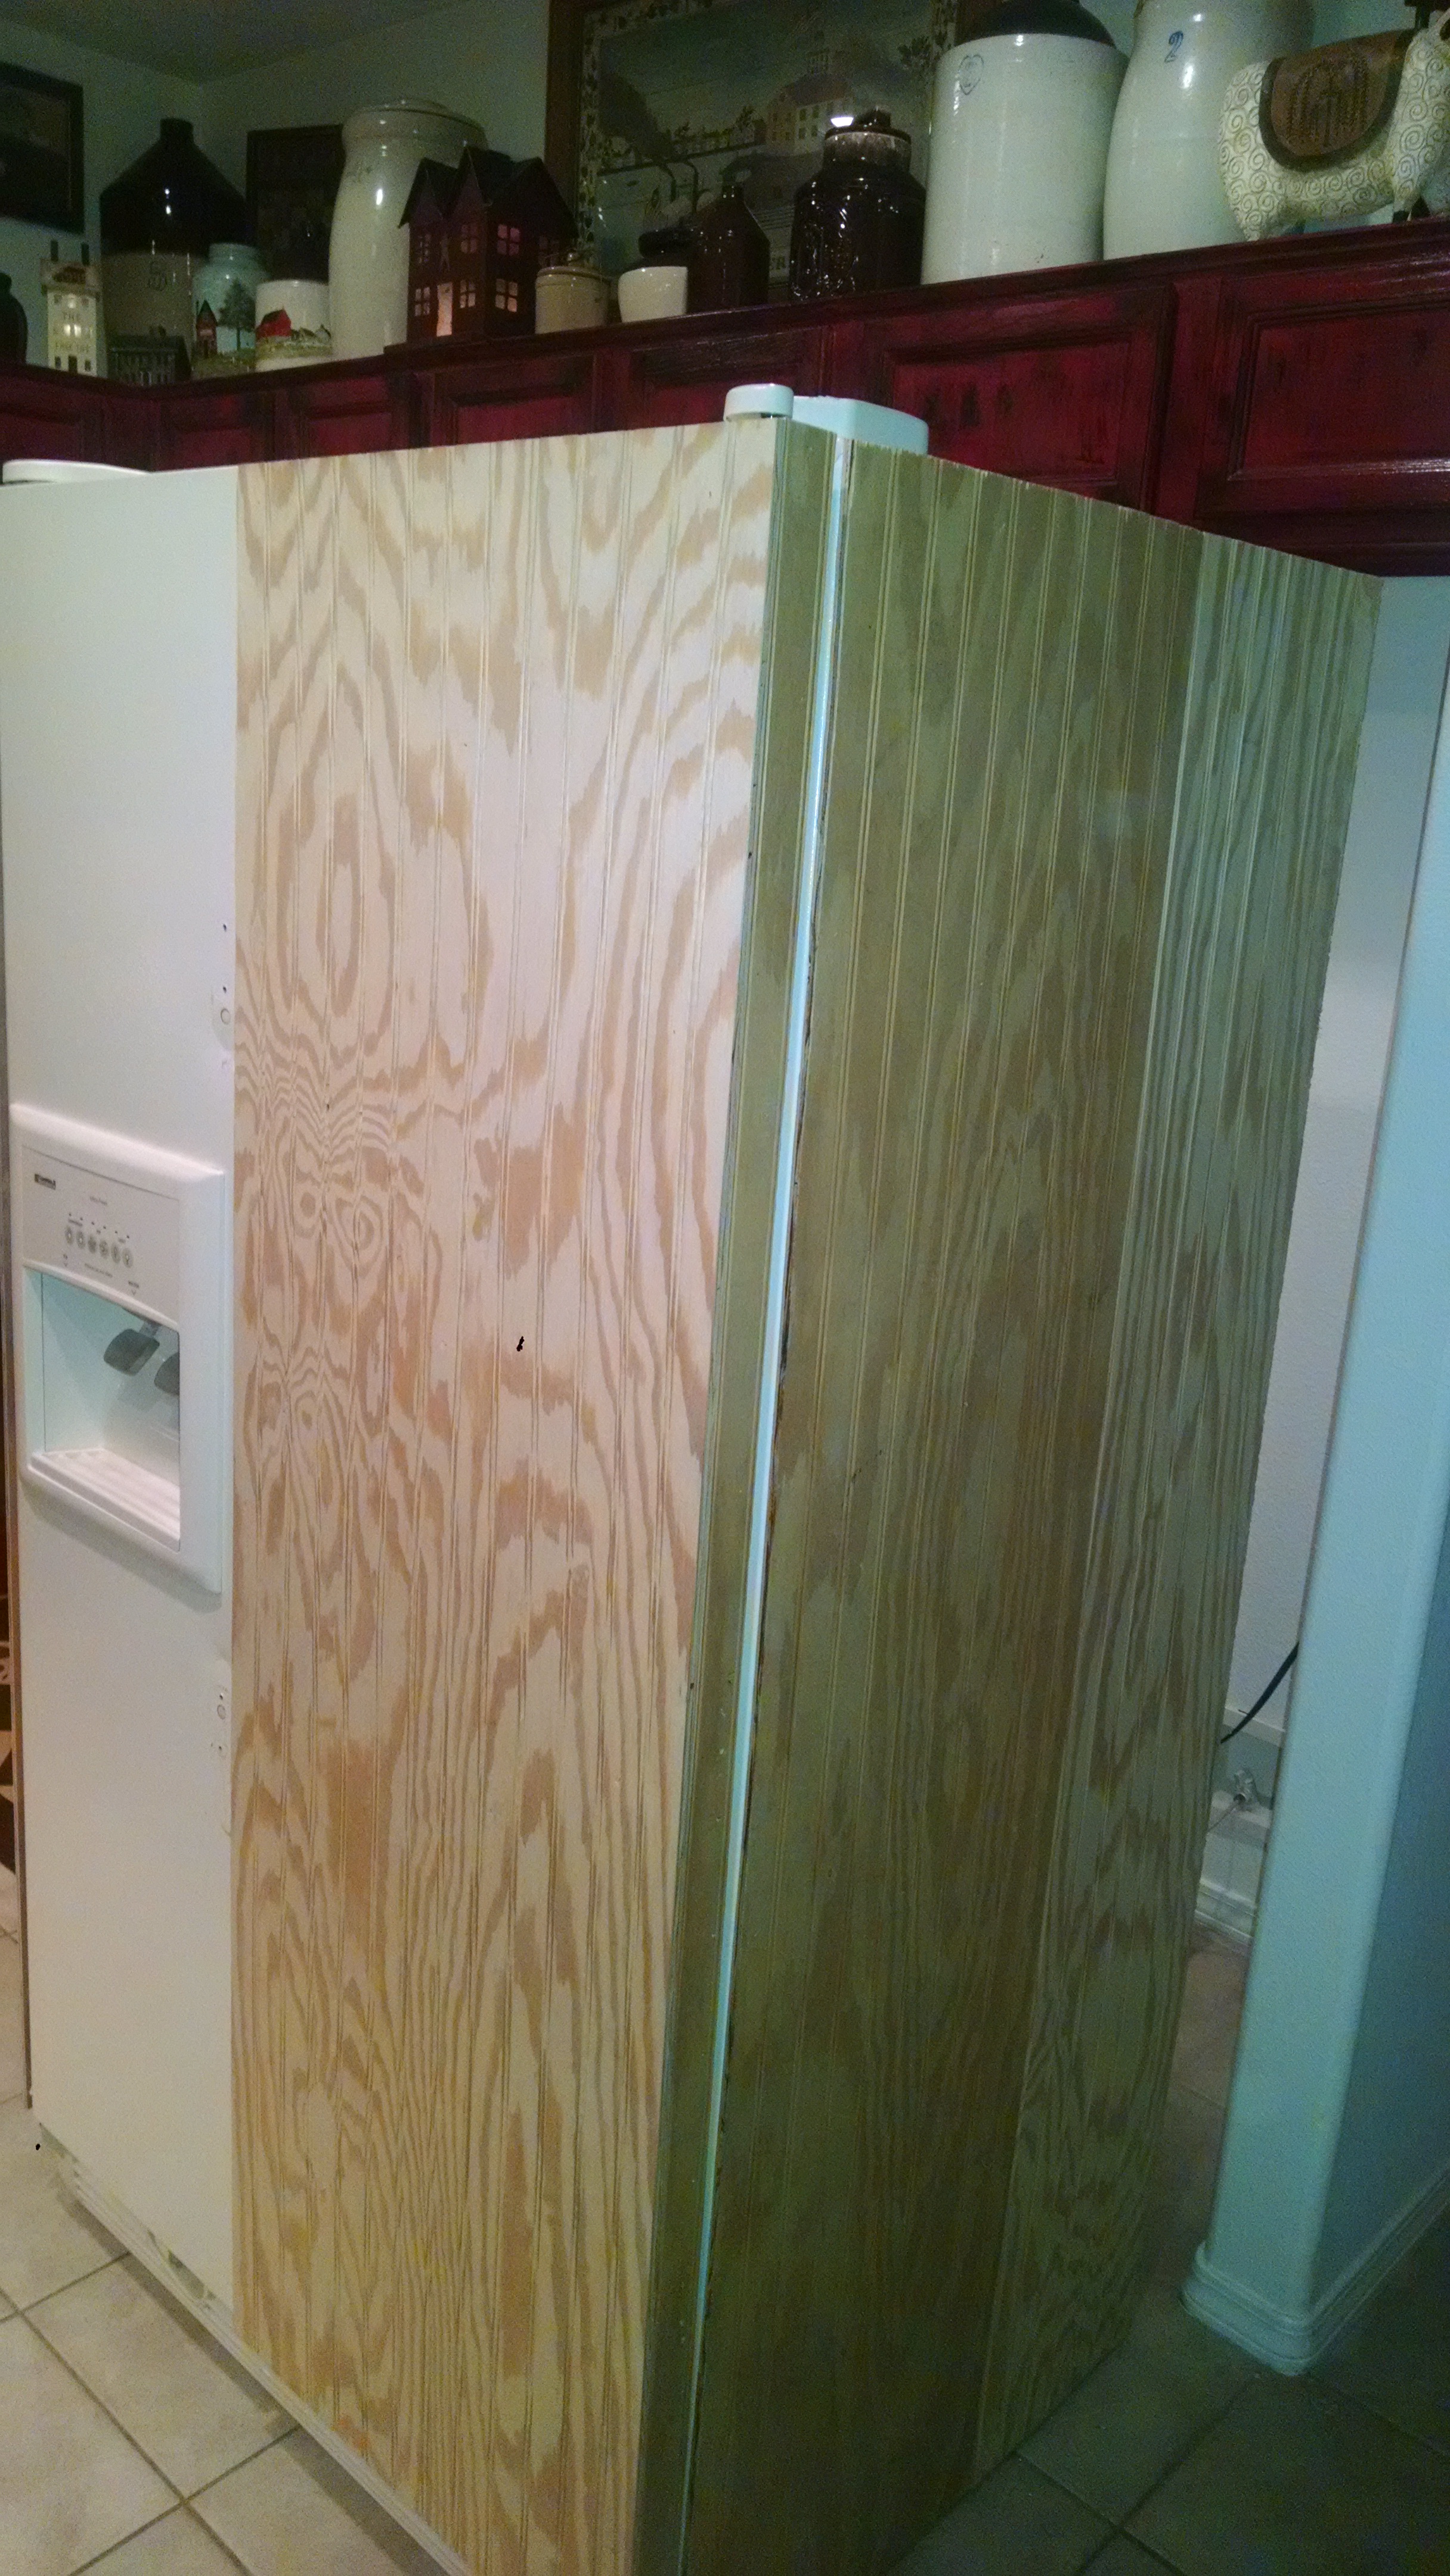
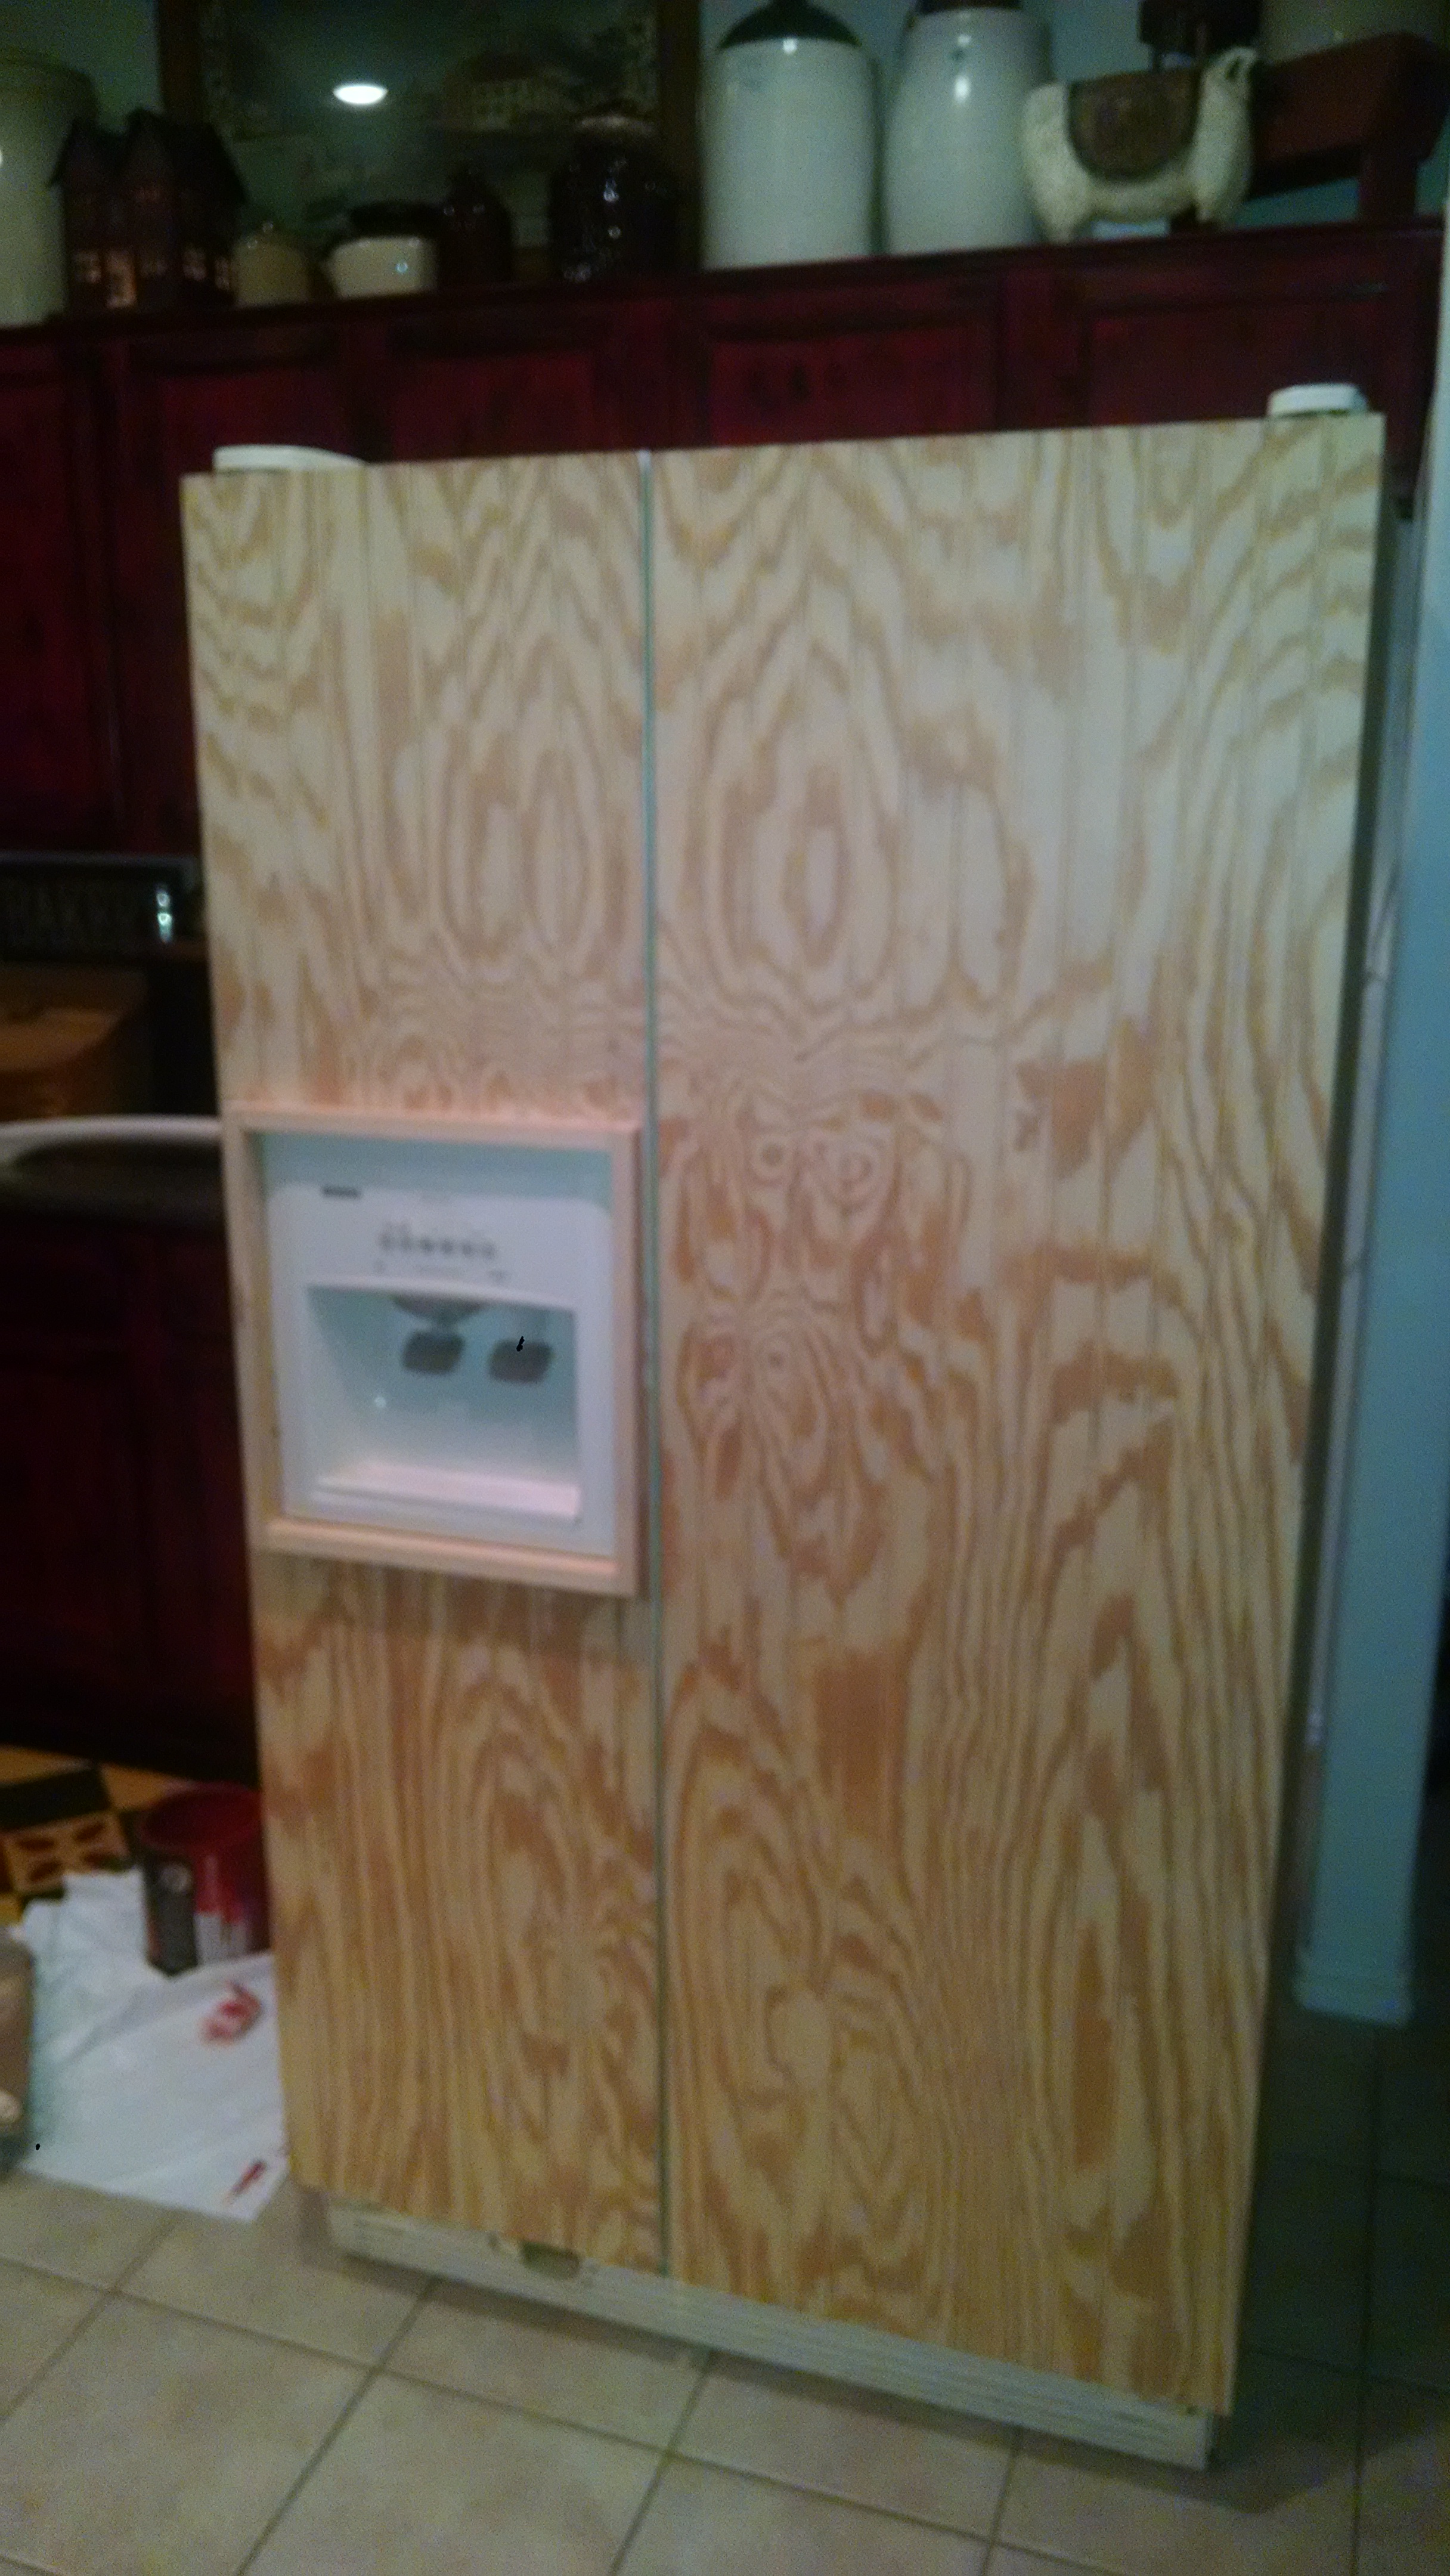
Miguel came up with a great idea to put and extra door over the ice dispenser so we could just make those modern conveniences just disappear. This will be kind of a theme. We also decided to do the same to the front of the dishwasher eye sore. The wood fireplace screen was a pain in the butt.
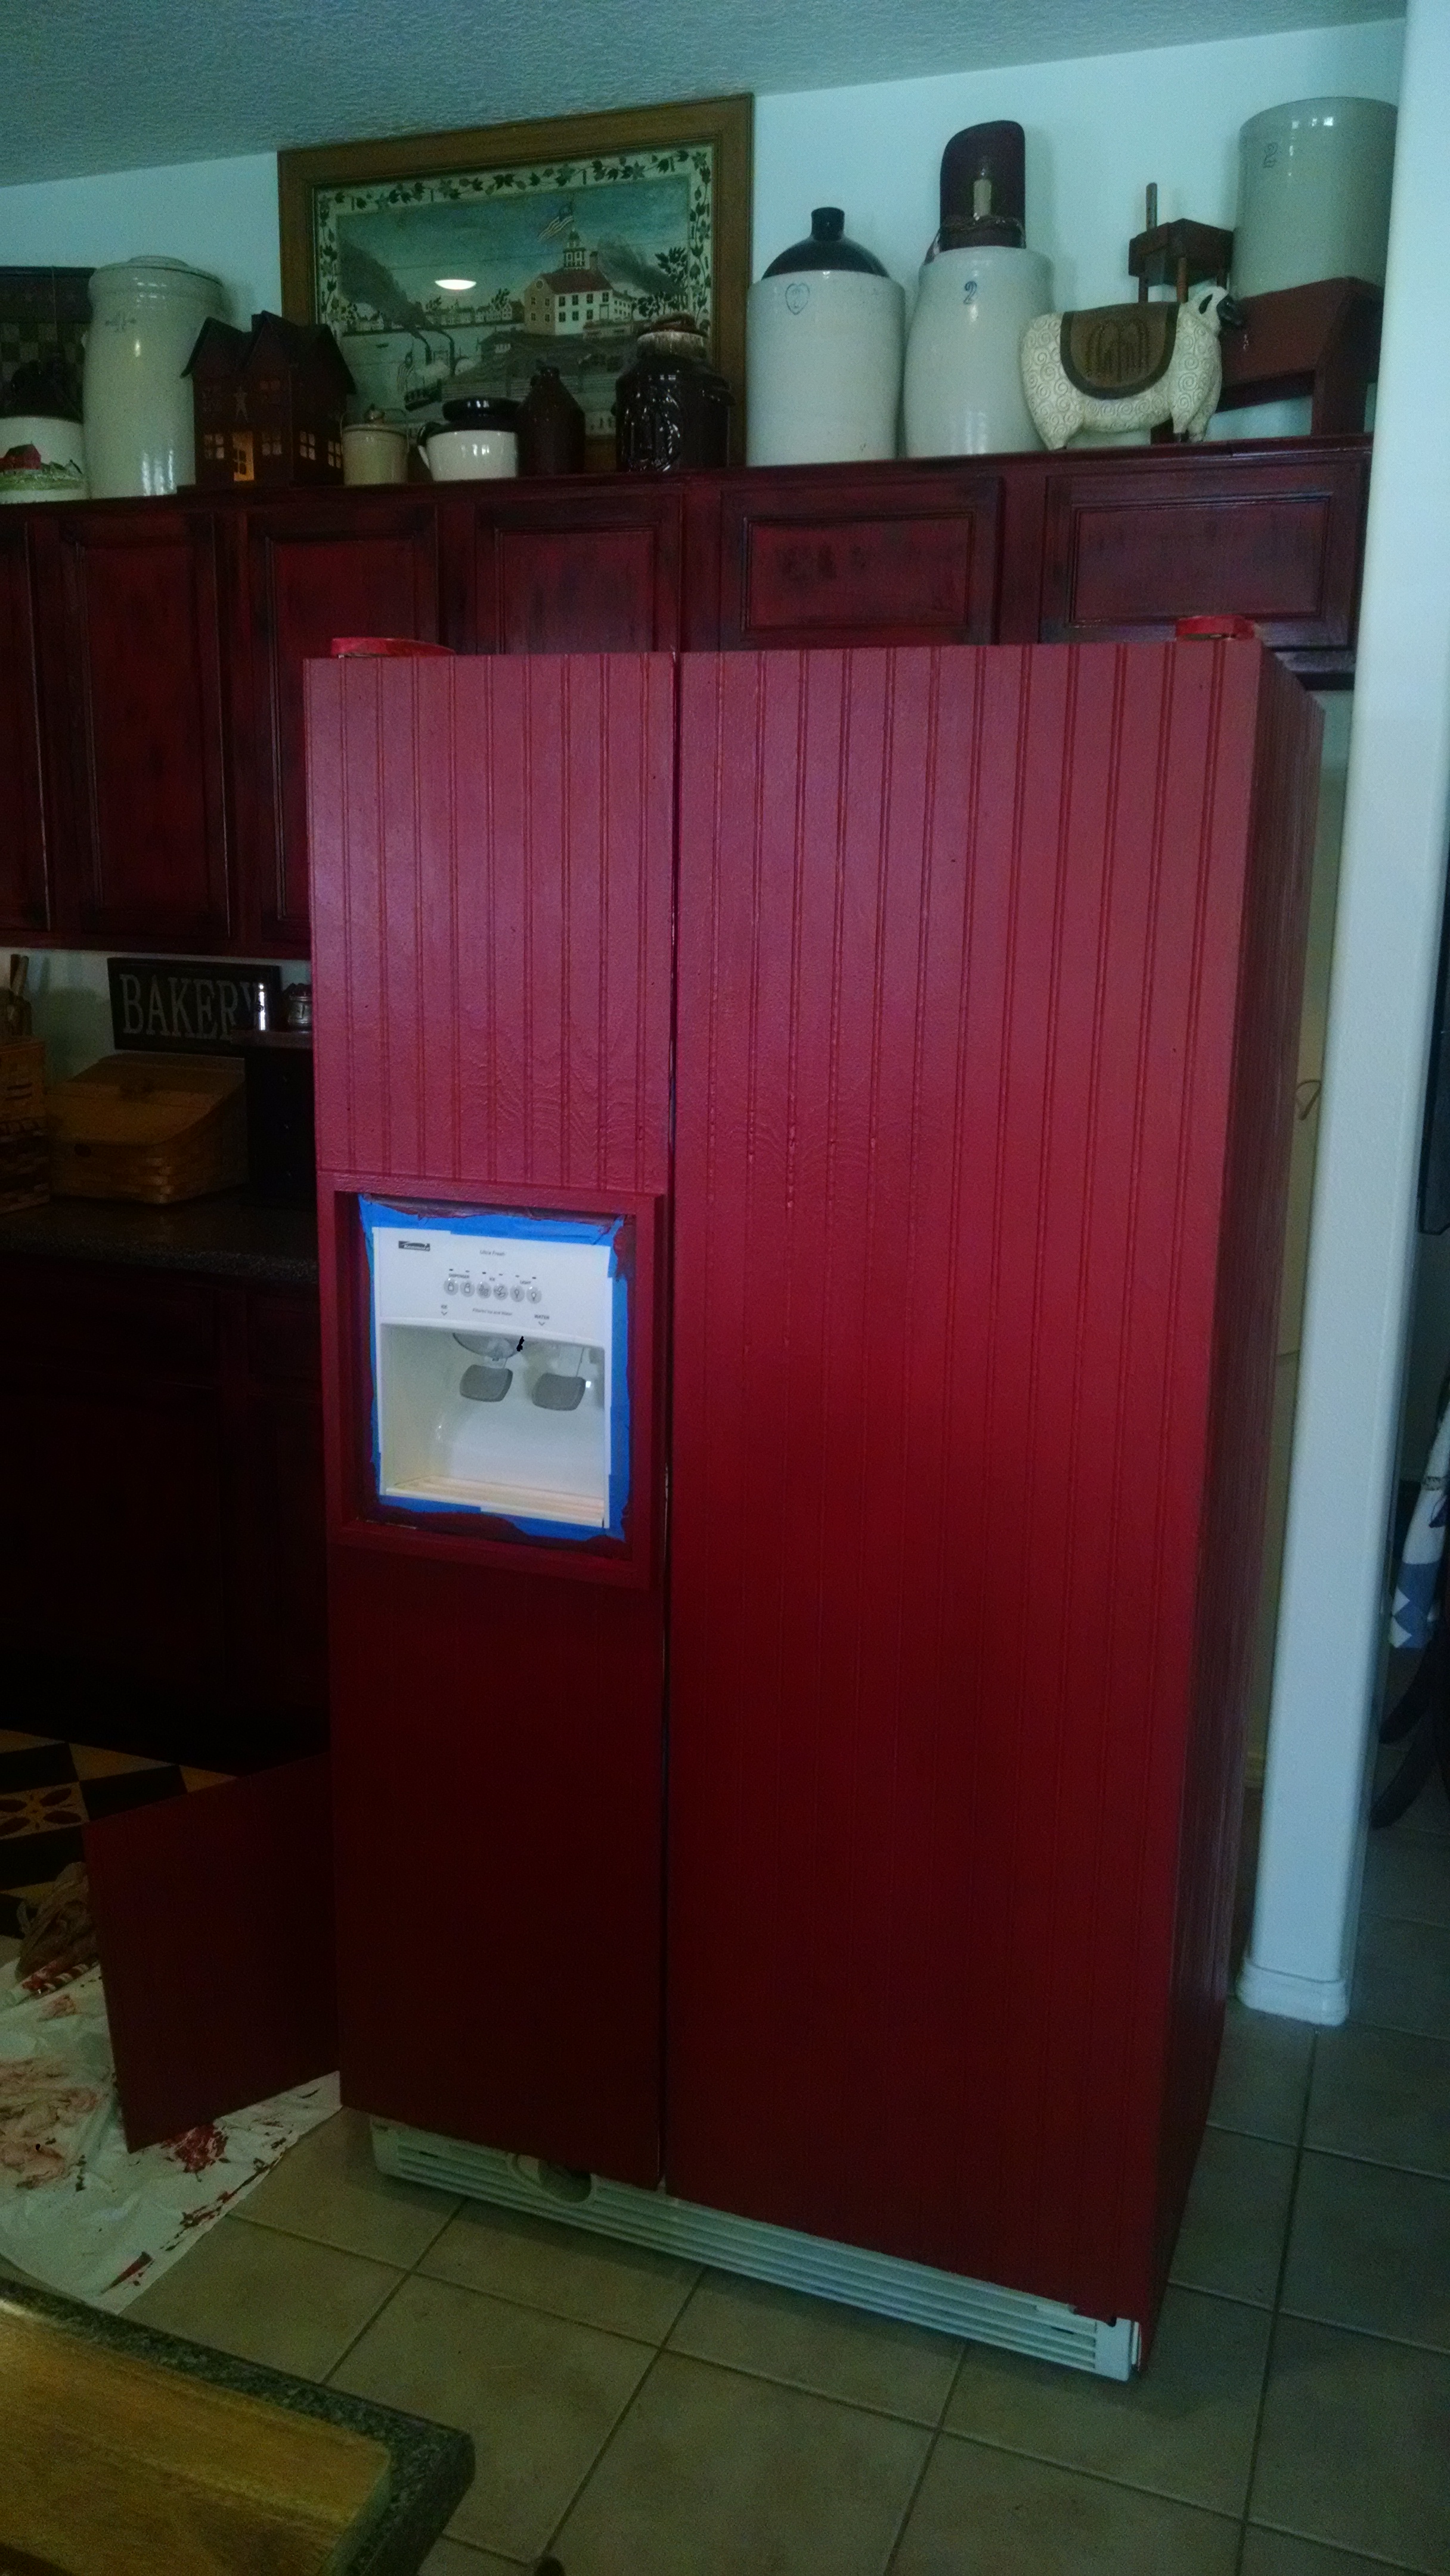
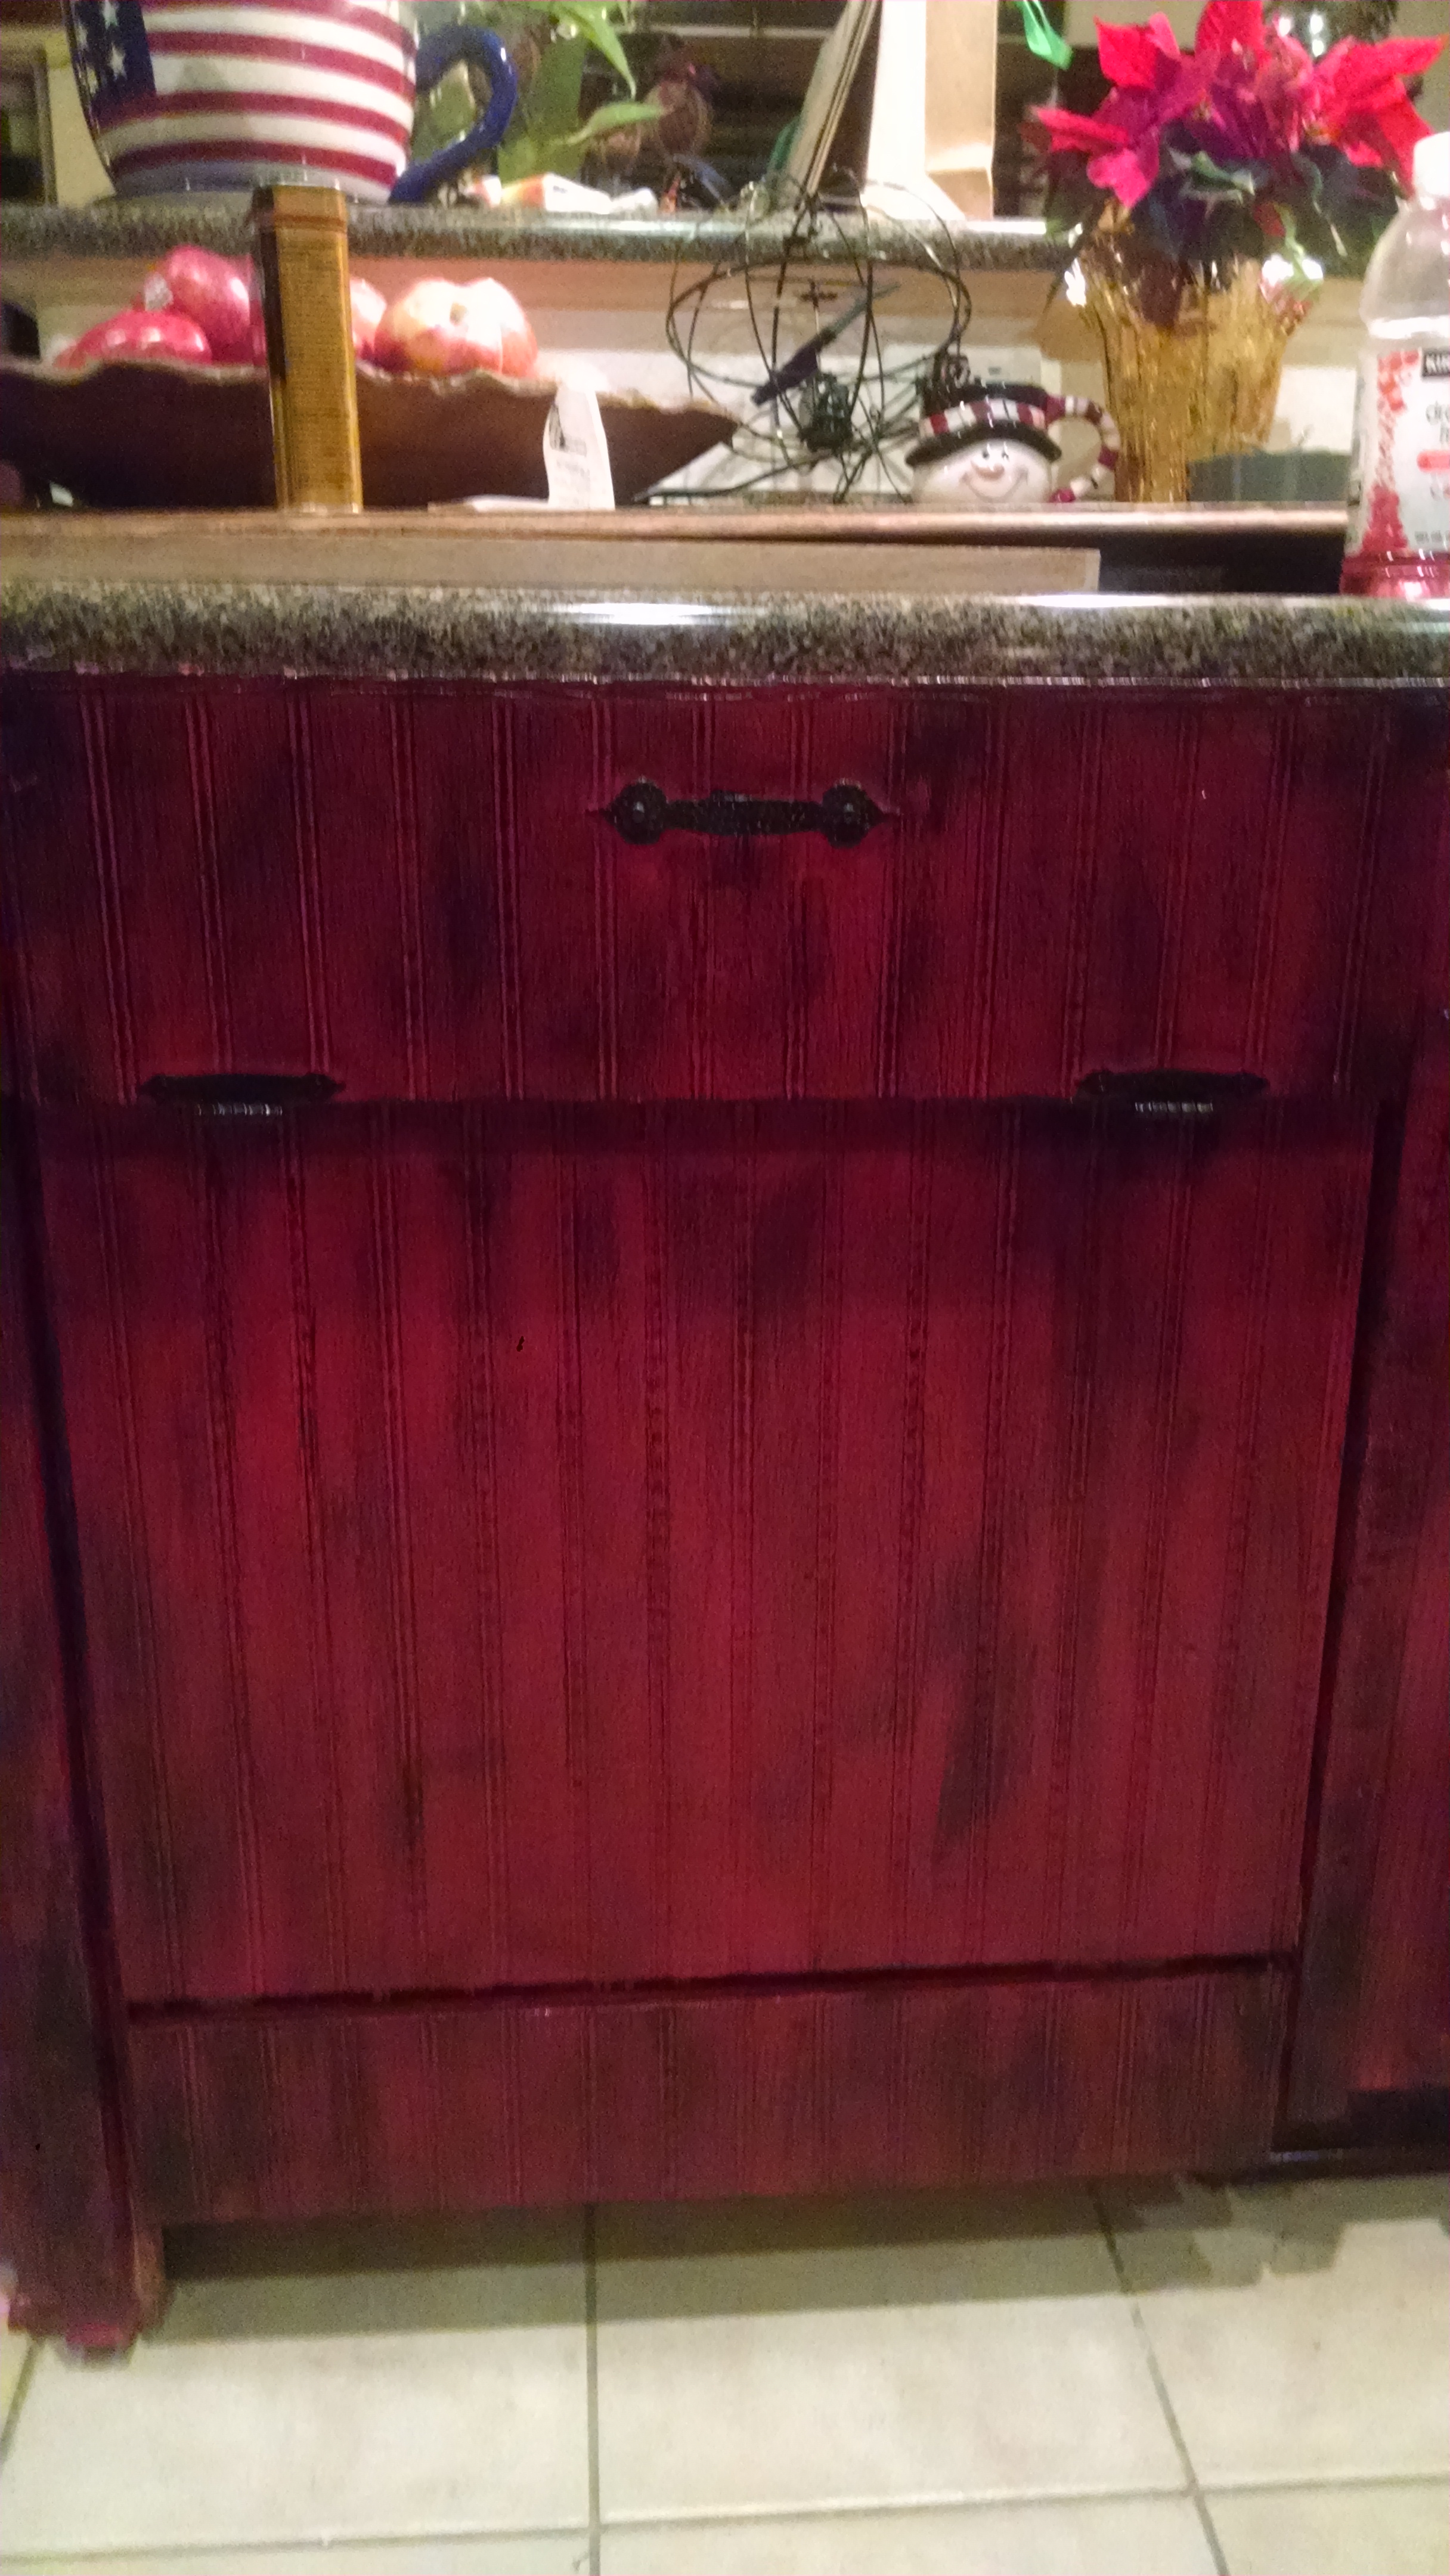
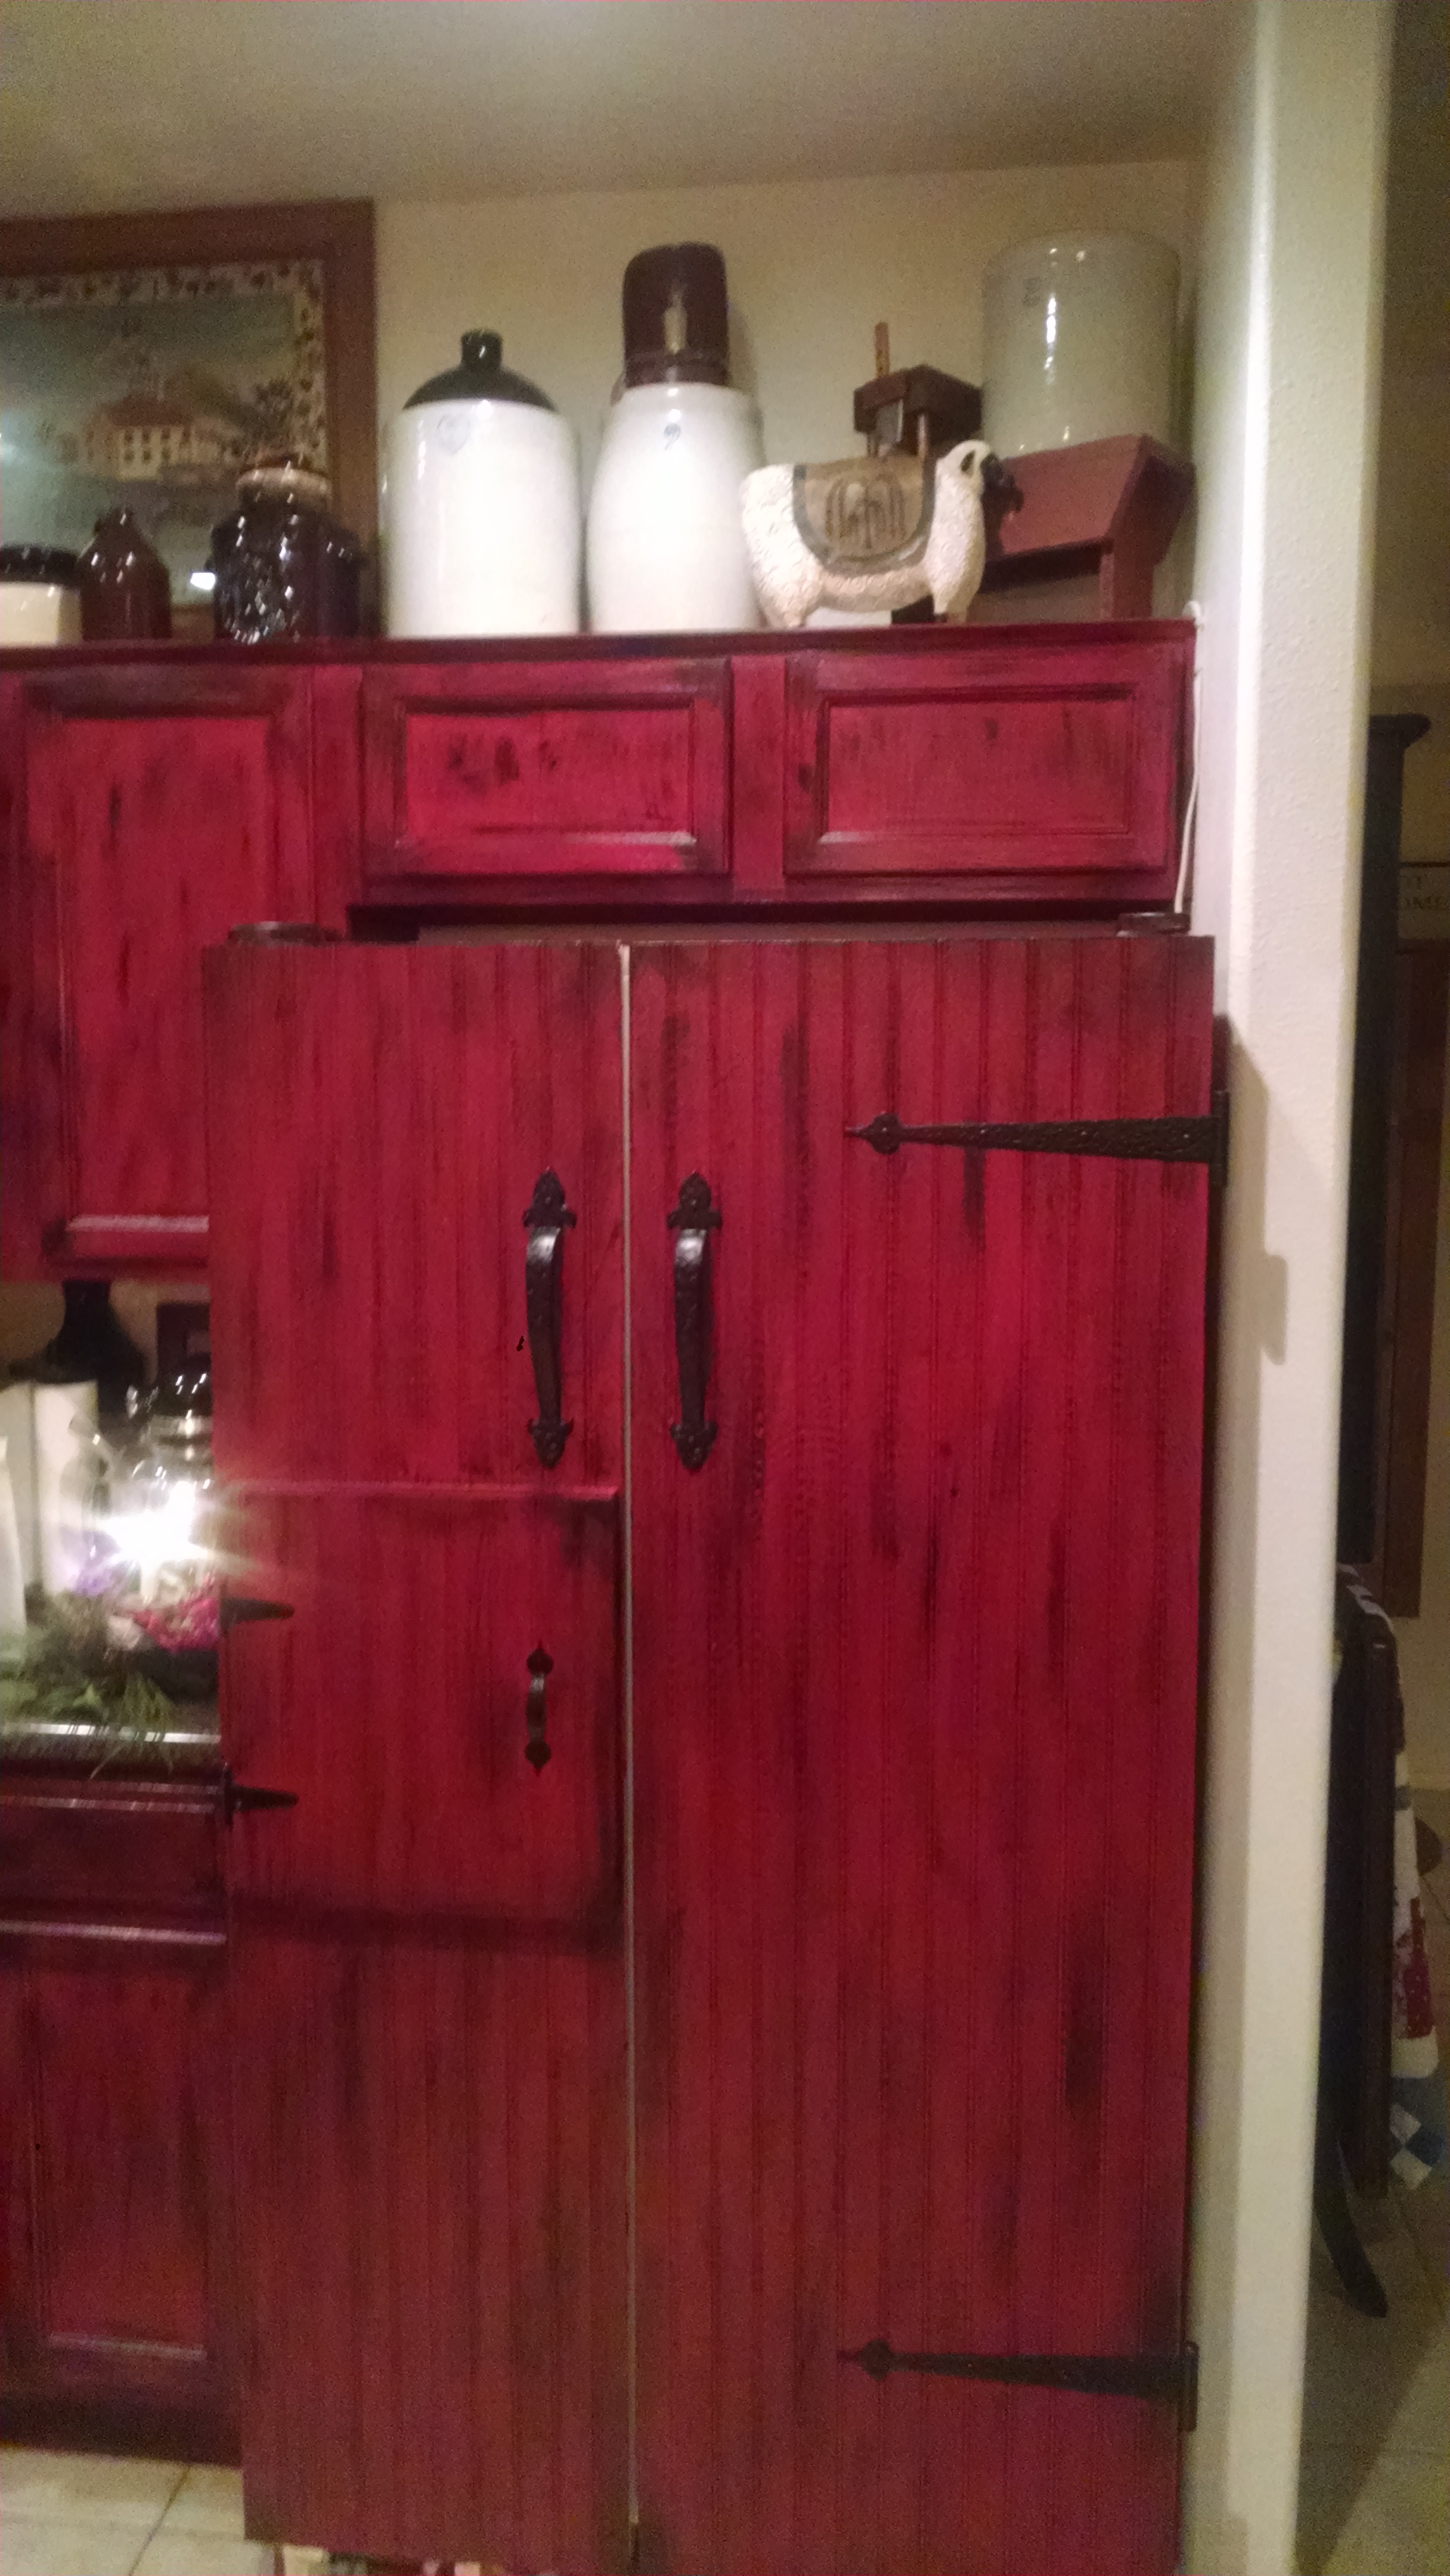
After I did the same multicoat paint job with a good top coat of polyurethane and Miquel added some awesome hardware Tada. We had barn door looking fridge and dishwasher. Kitchen beautiful for now….
